Fried Chicken
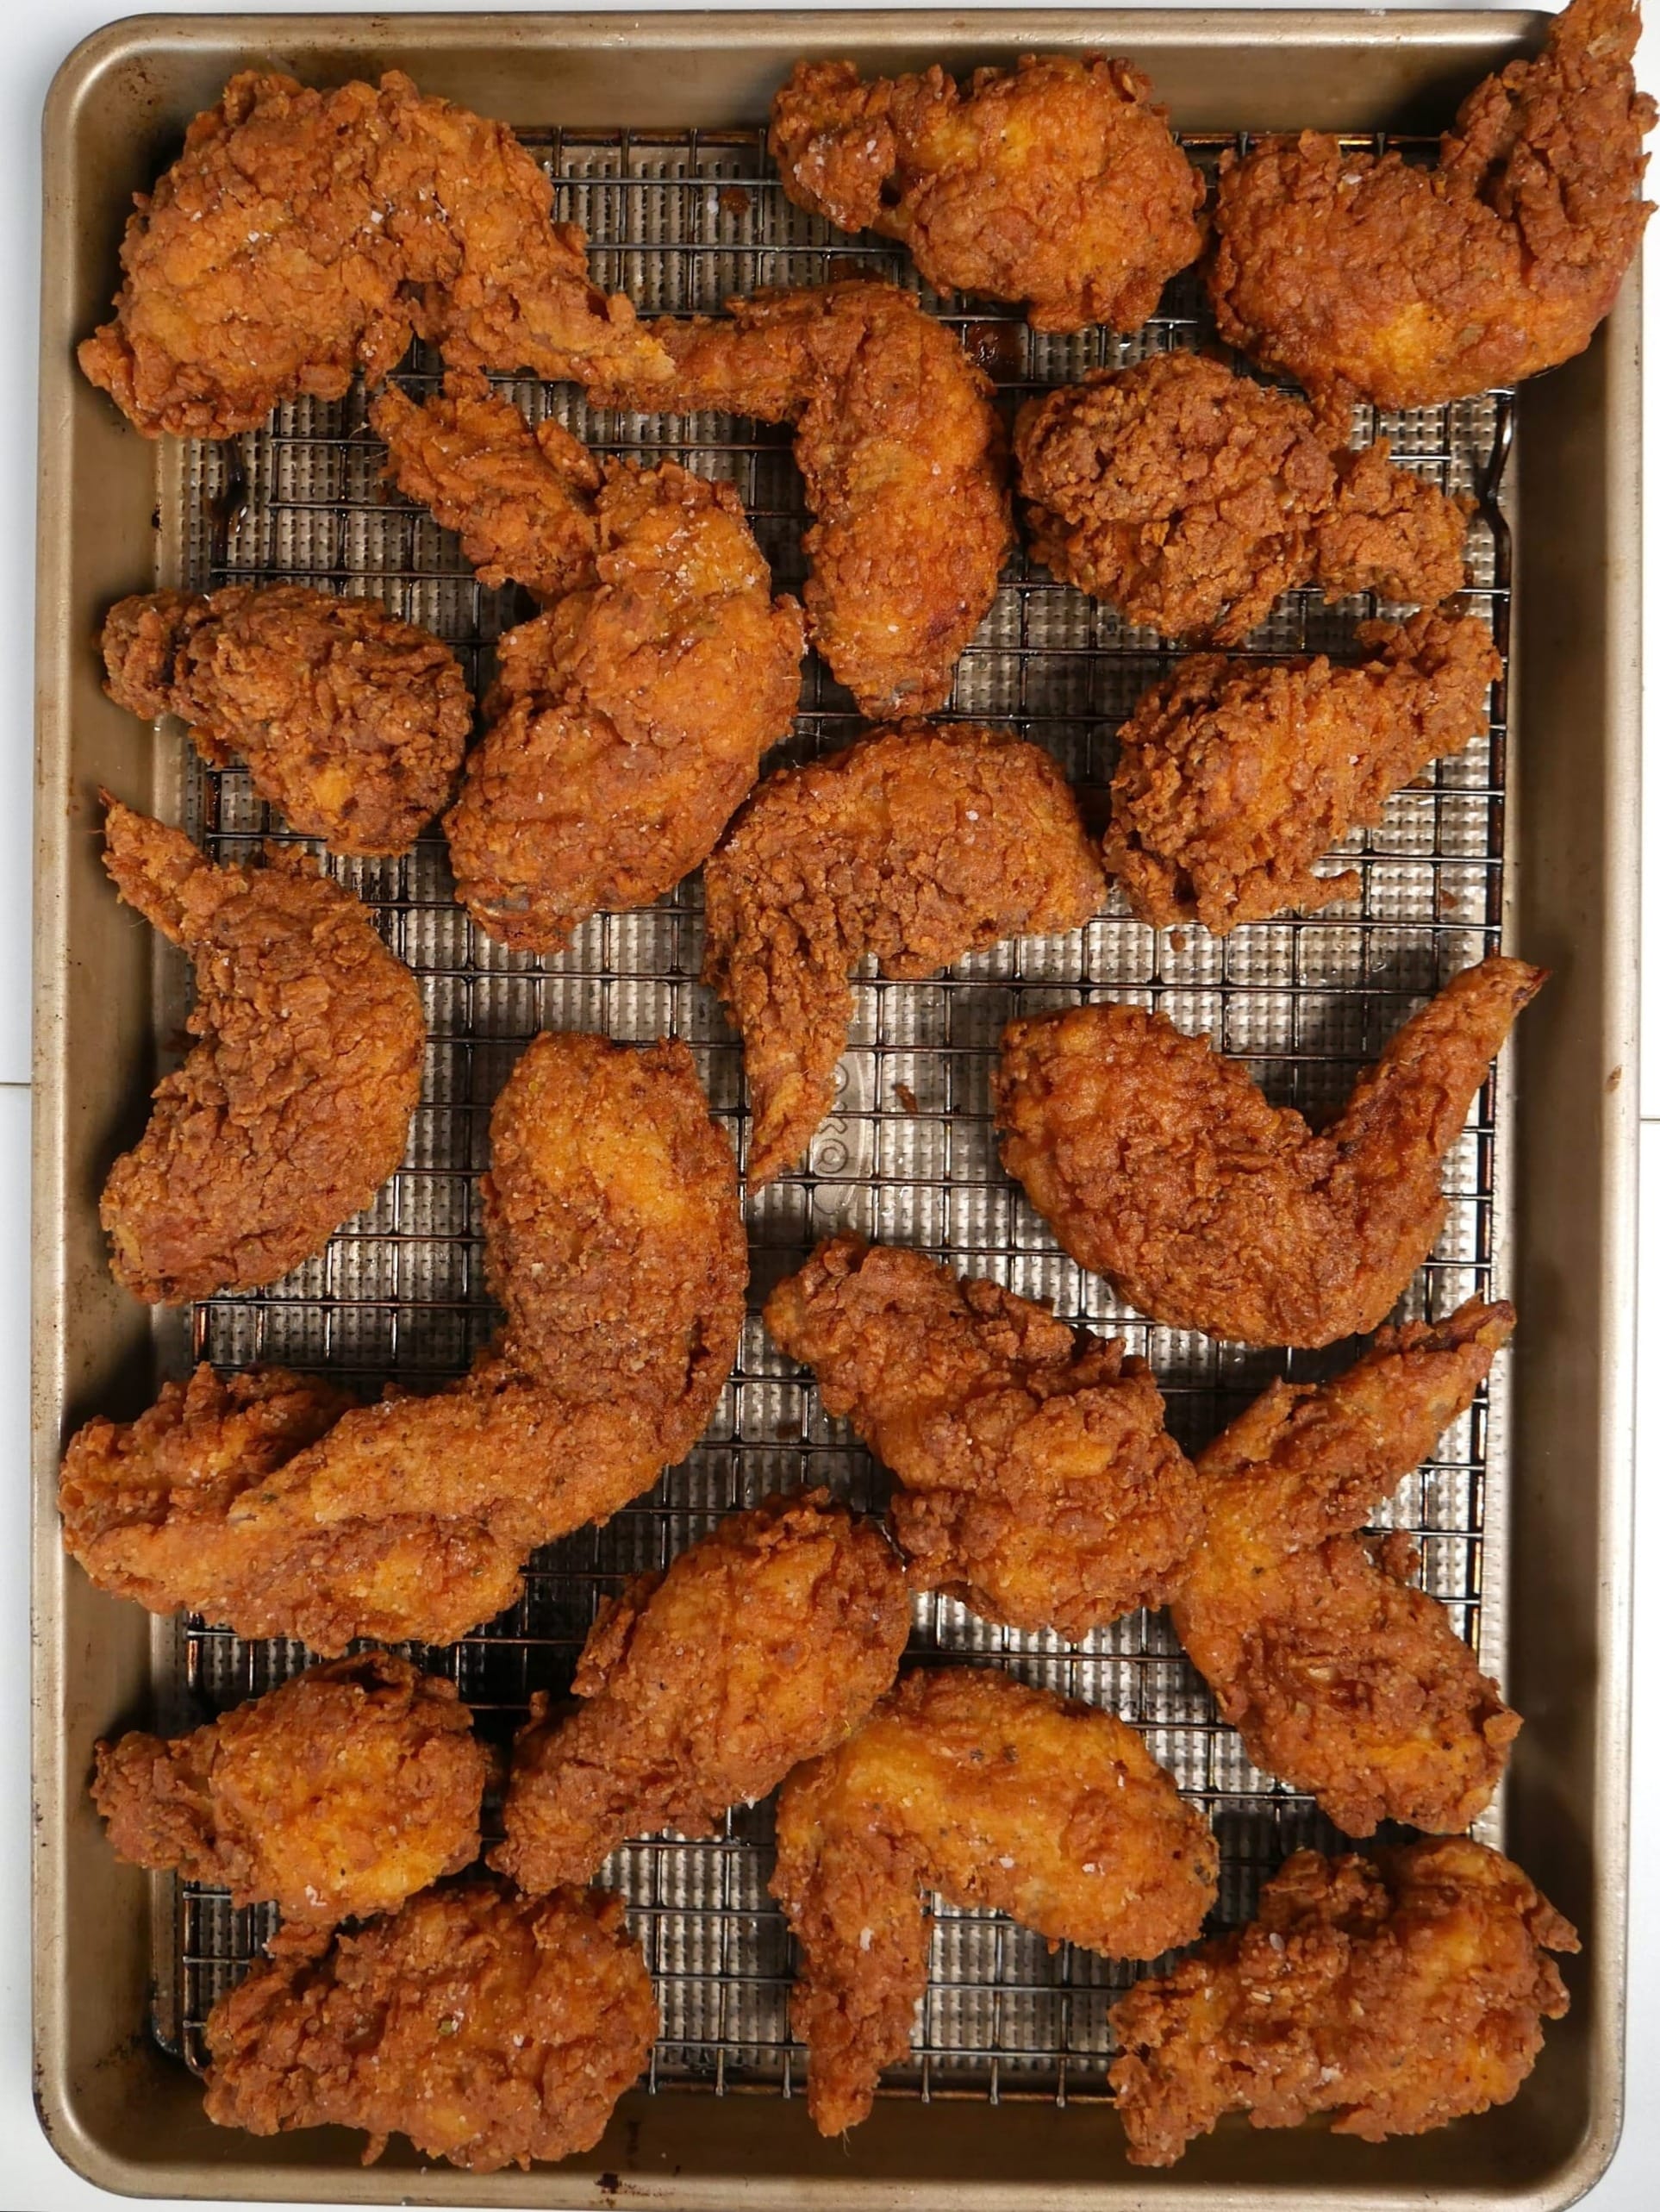
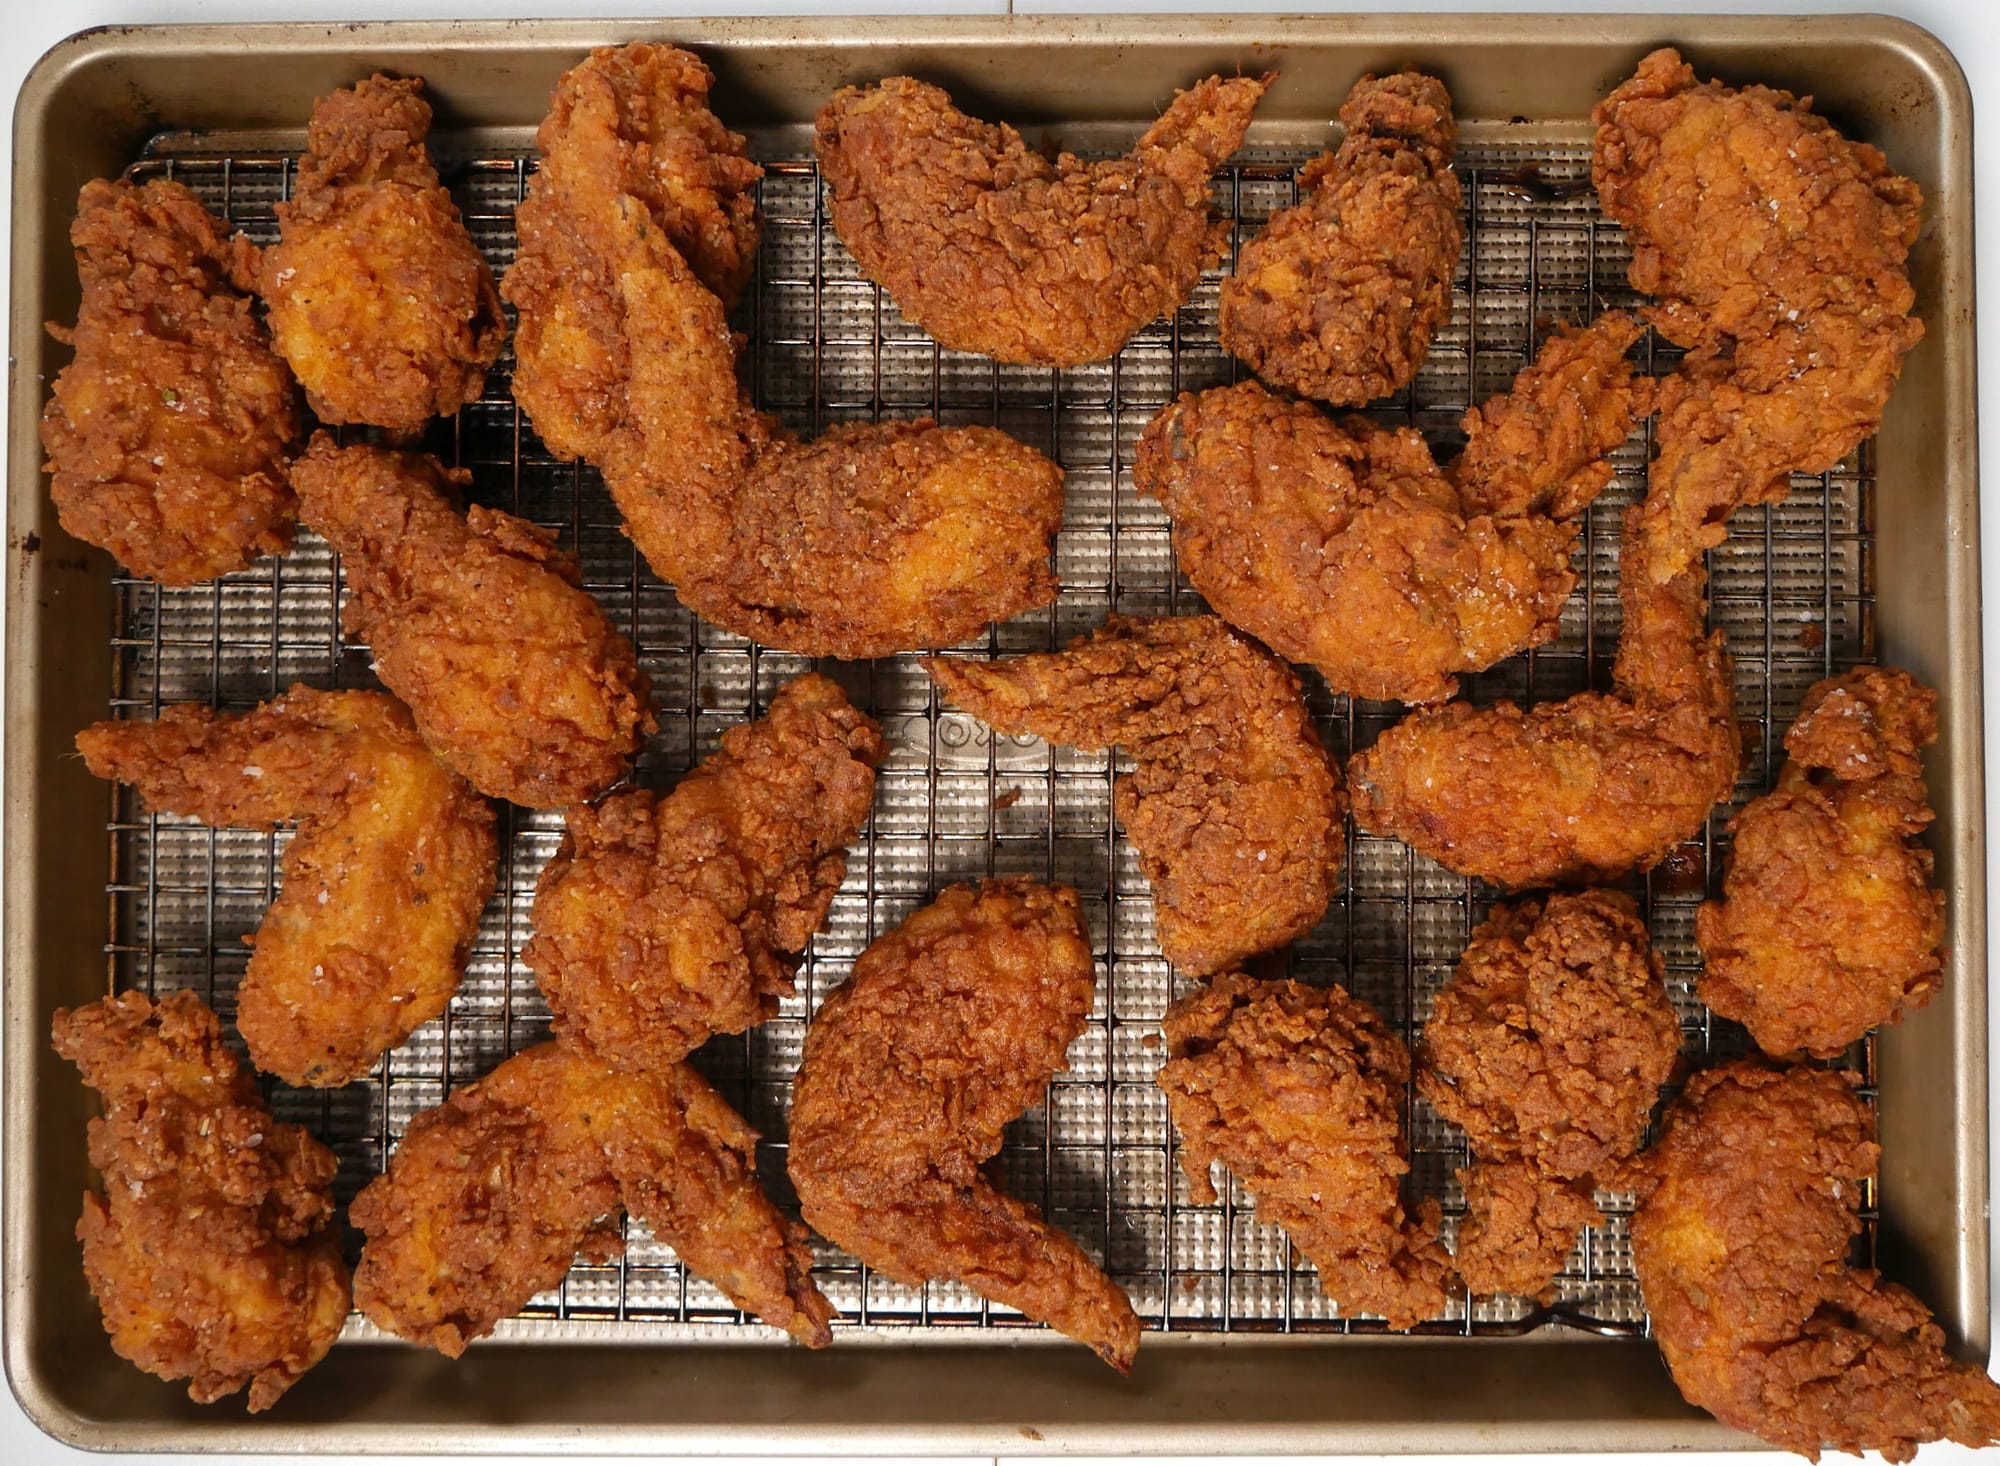
Fried chicken is one of those things that, when done right, makes that first bite straight up magical. There are plenty of ways to make it, but I’ve tested multiple marinades, coatings, and frying temperatures to narrow it down to an amazing recipe you can easily make at home.
First Up: The Marinade
For this recipe, we’re going with a classic buttermilk brine marinade. Soaking the chicken in a well-seasoned buttermilk marinade is the key to getting the best flavor. Even though the outside coating will be seasoned, most of the flavor starts in the marinade.
The longer you let the chicken soak, the more flavorful it will be. The sweet spot is around 12 hours, but no more than 24. After that, the chicken can absorb too much liquid and develop a slightly rubbery texture. If you’re short on time, even 1 to 2 hours will still make a difference.
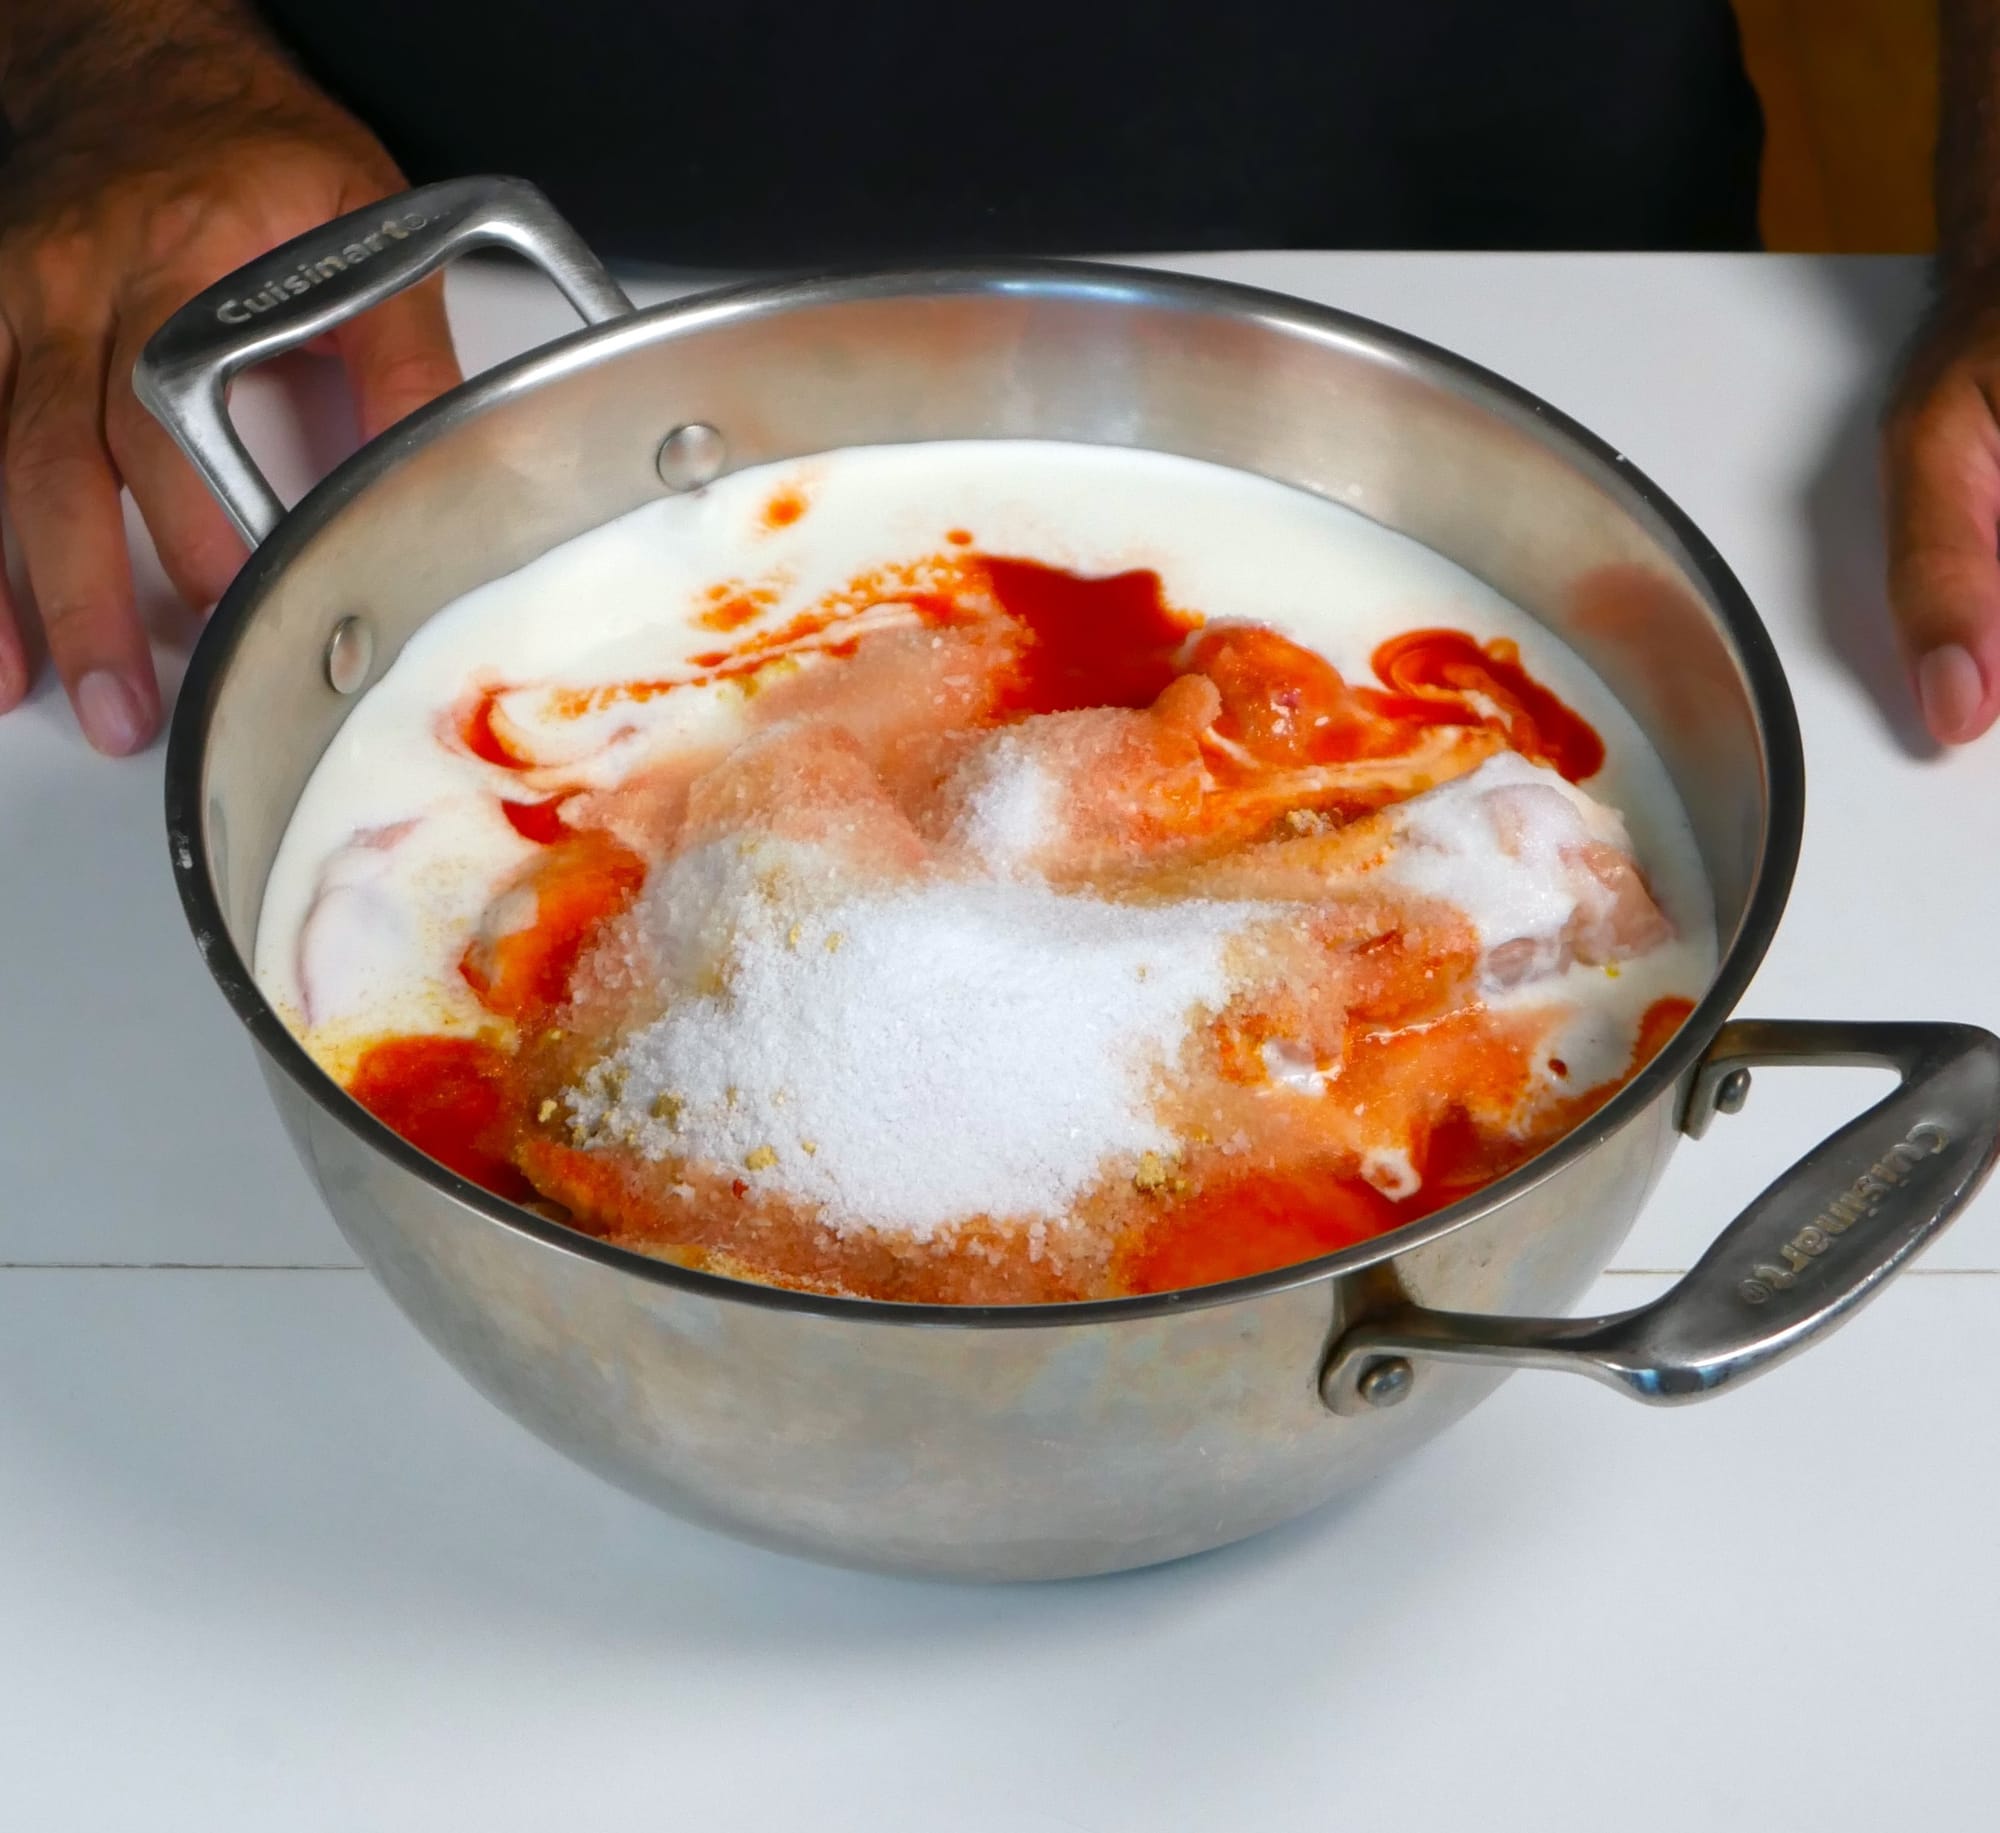
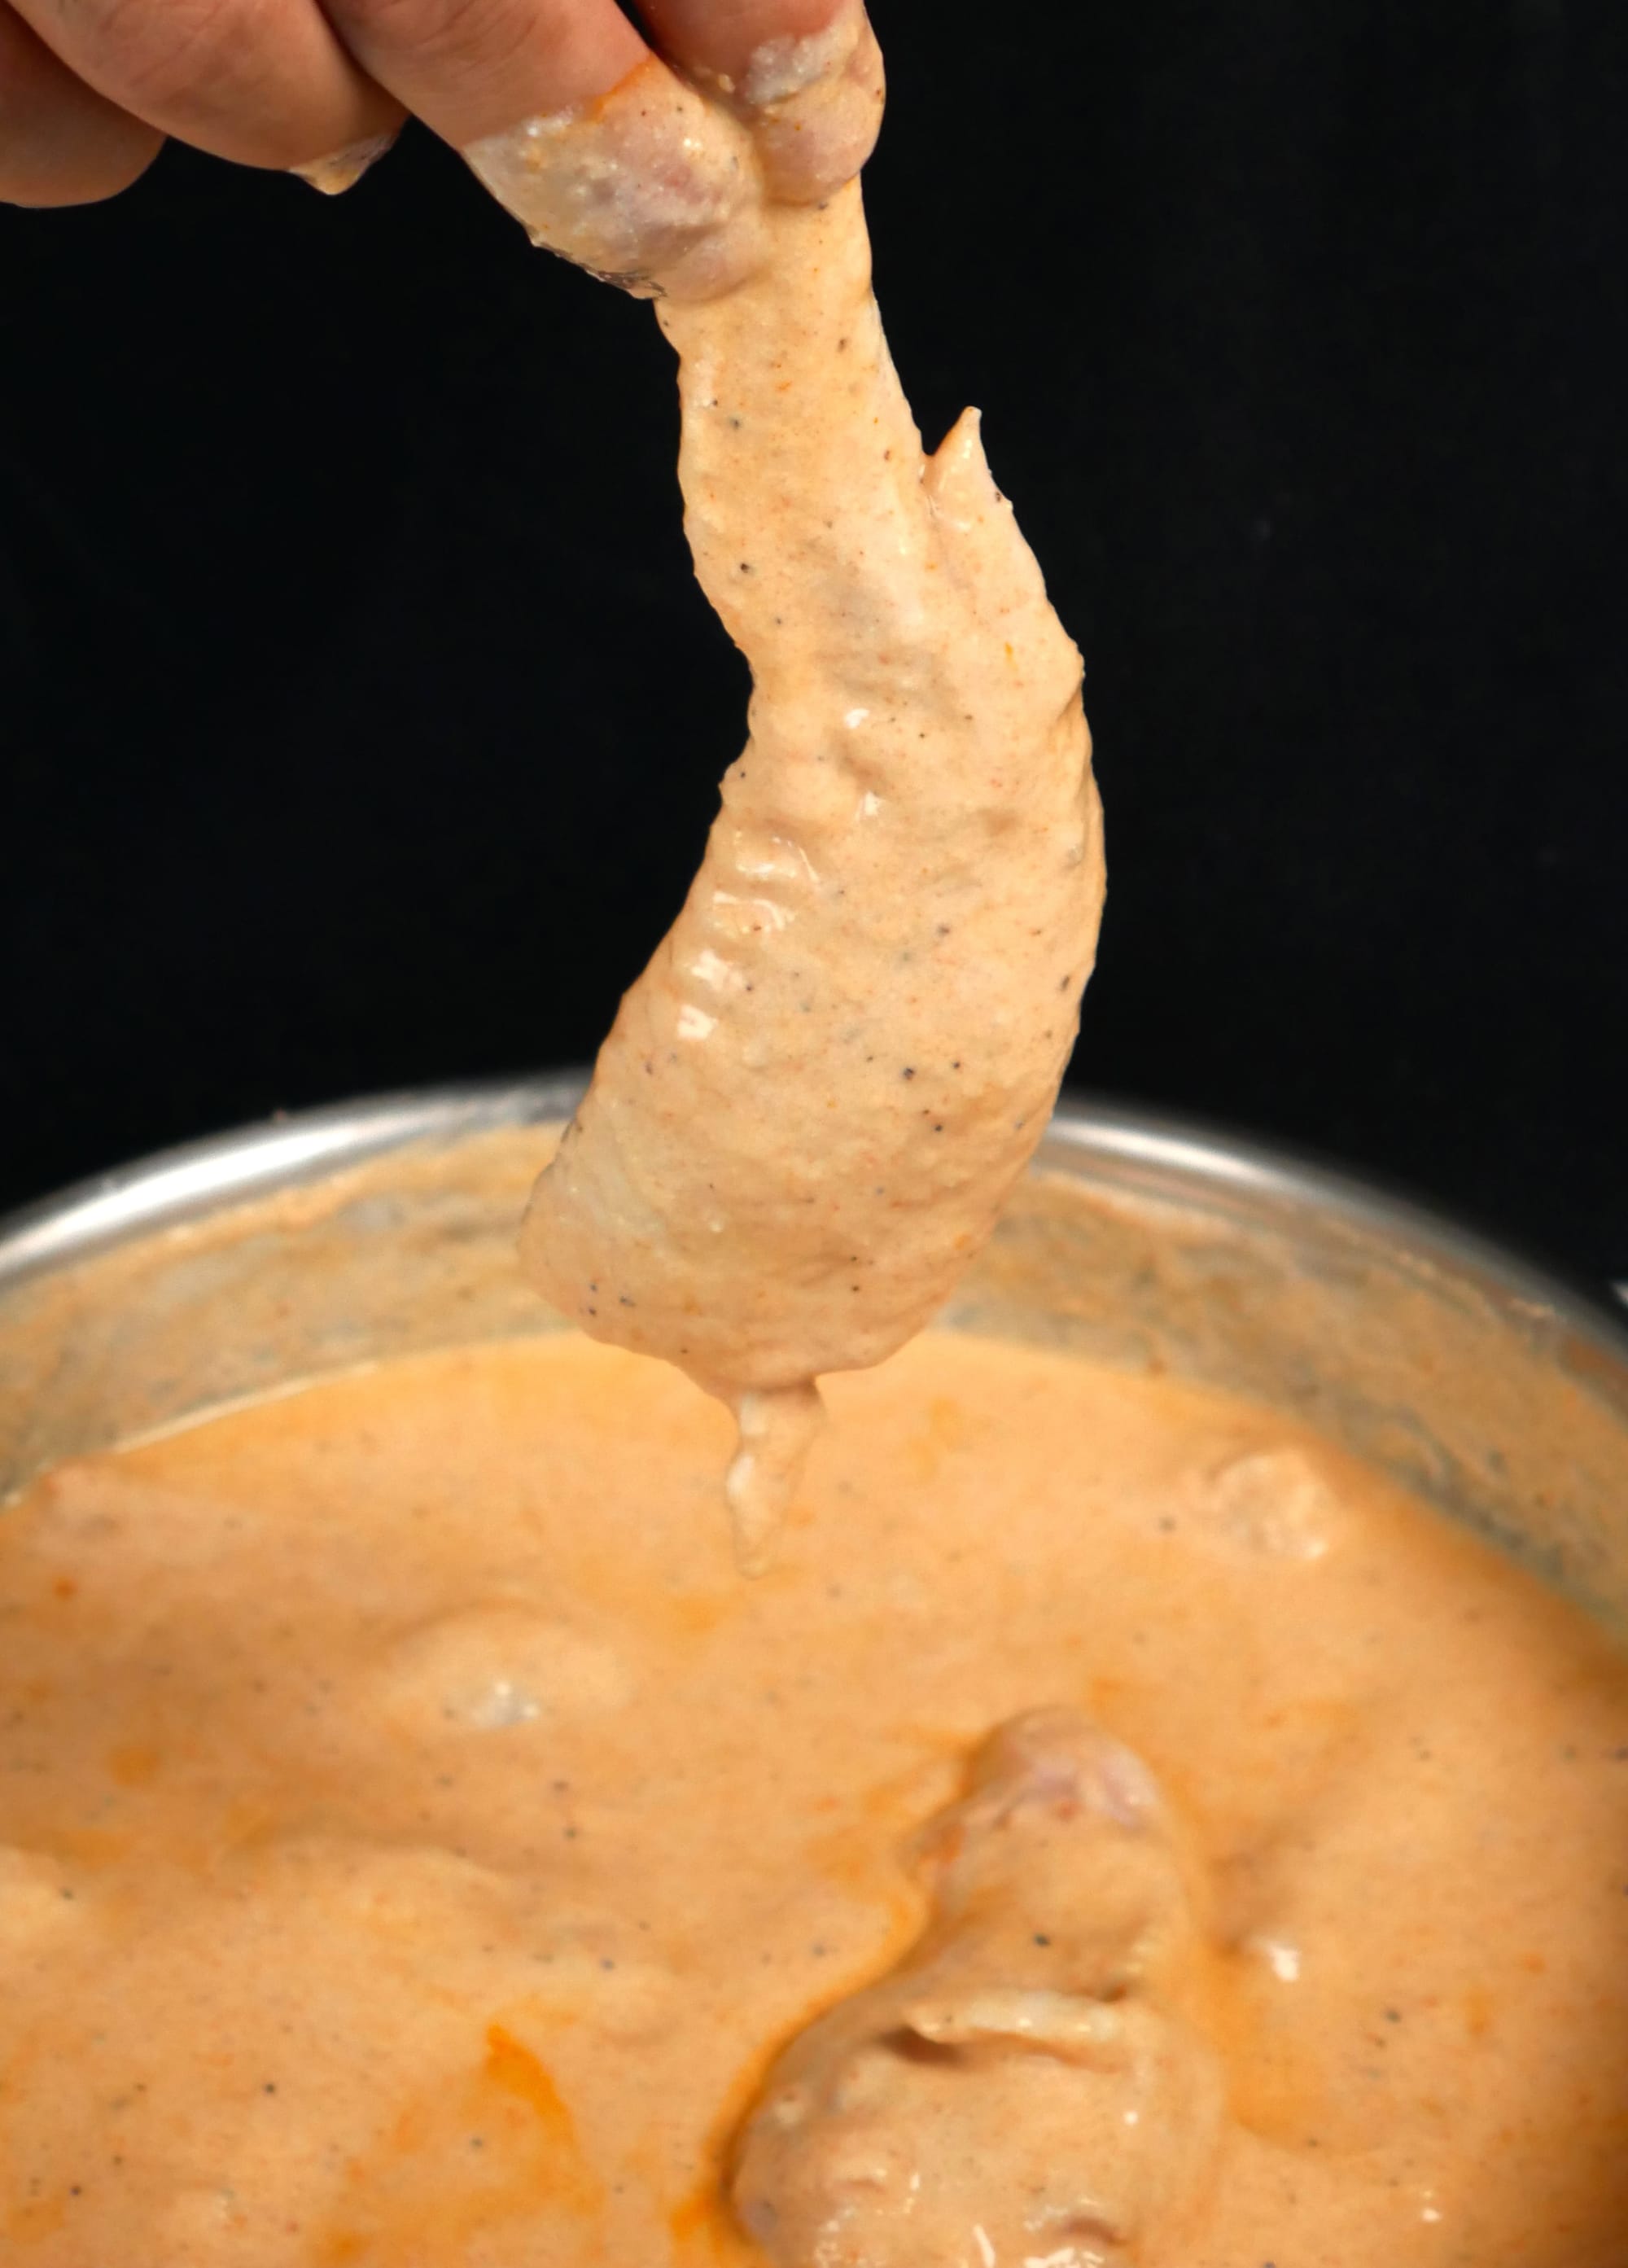
The buttermilk brine consists of hot sauce, spices, salt*, and sugar. The liquid ratio creates the perfect coating for the flour to stick to. If the marinade is too thick, the fried chicken can end up with an exterior that feels way too heavy. If it’s too runny, the coating comes out too thin.
*Please note: I am not using table salt in this recipe, I am using diamond crystal kosher salt. Kosher salt is less concentrated than table salt, so adjust accordingly if using table salt. See notes below for conversion.
There are times when I prefer a thinner crust, which might be a recipe for another day, but for this one, the ratio gives you the perfect balance of crispy coating to juicy chicken.
Second: The Seasoned Flour
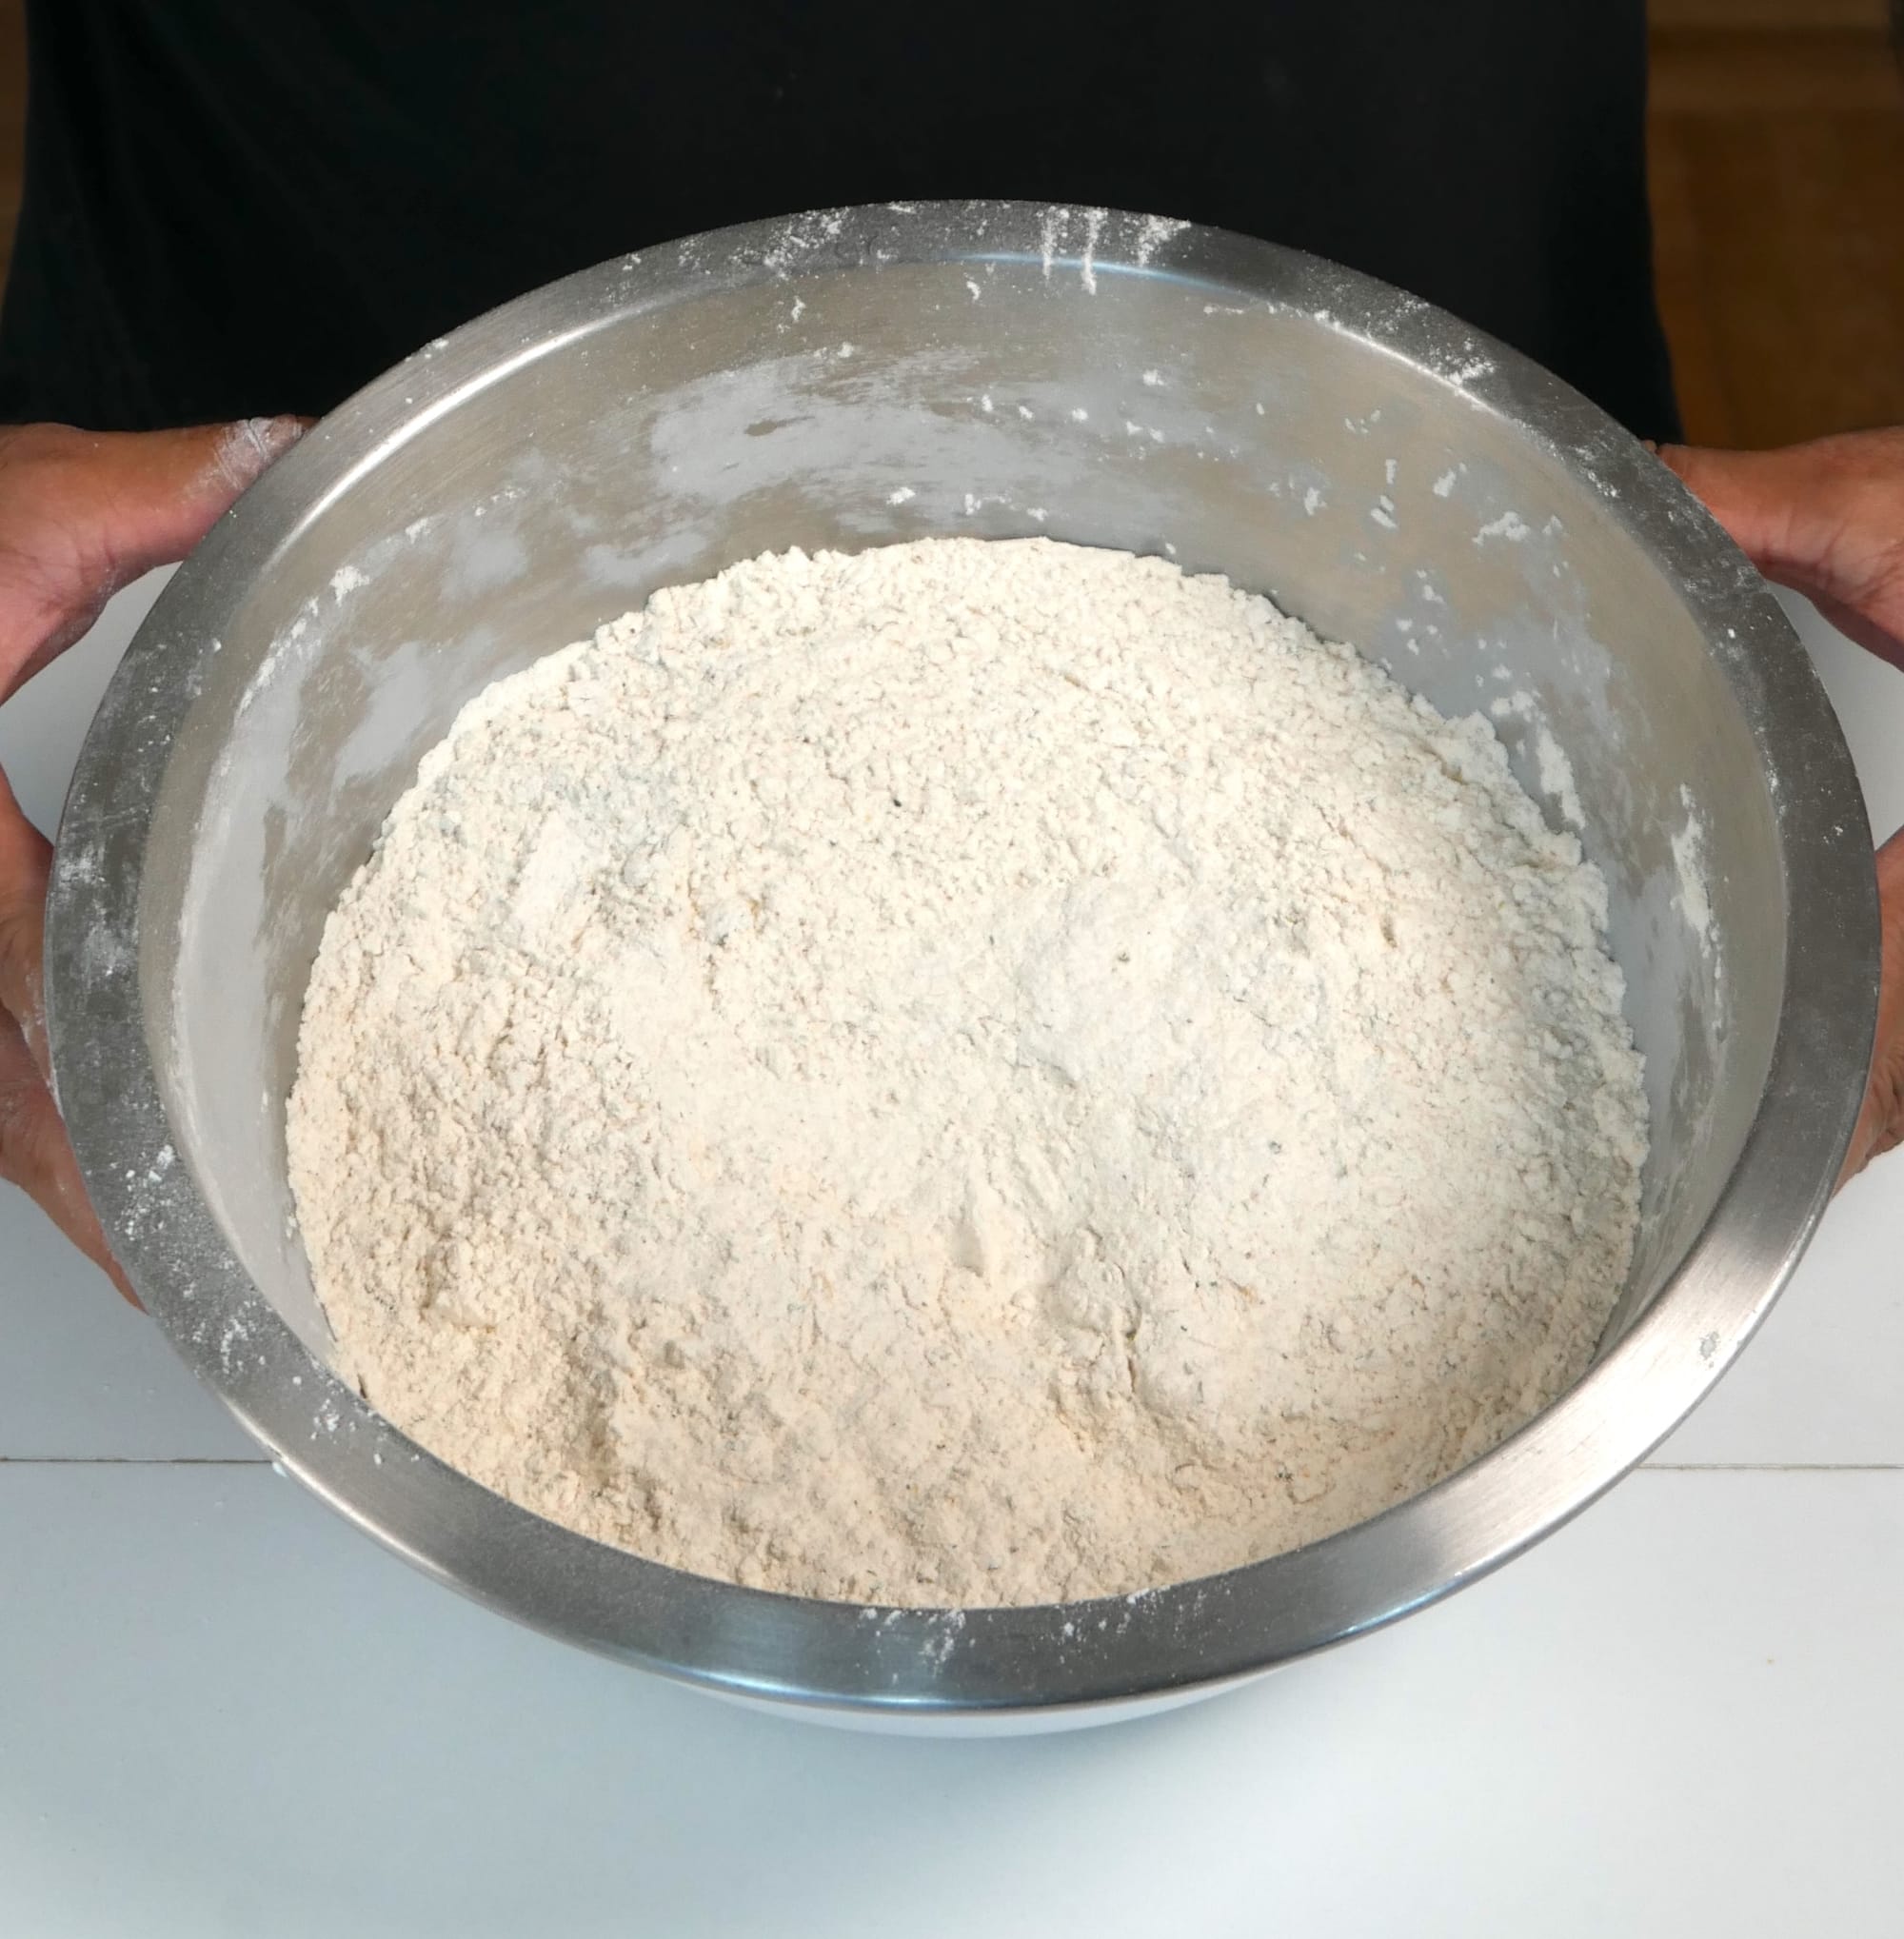
I look at seasonings in two categories: ingredients that contain salt and ingredients that don’t. With things like garlic powder, onion powder, and paprika, you can be pretty generous. You may even want to add more than you think you need.
But seasonings like chicken bouillon powder, Old Bay, and taco seasoning (even though we won’t be using all of them here) already contain salt. Those are the ones you need to keep an eye on because adding too much can quickly make your chicken overly salty.
The Secret Ingredients: Cornstarch and Baking Powder
These two are your one-two punch. Your yin and yang. Shaq and Kobe. LeBron and Kyrie.
I’ve tested a bunch of different methods, and these two ingredients are hands down some of the most important. Cornstarch takes the crispiness to the next level, while baking powder creates a lighter, airier crust.
Without getting too deep into the science, when the baking powder hits the hot oil, it helps create tiny bubbles throughout the coating, giving it more texture and crunch. While cornstarch helps the coating dry out faster in the hot oil, making the chicken extra crispy instead of soft or bready.
Long story short: use both.
Third: The Fry
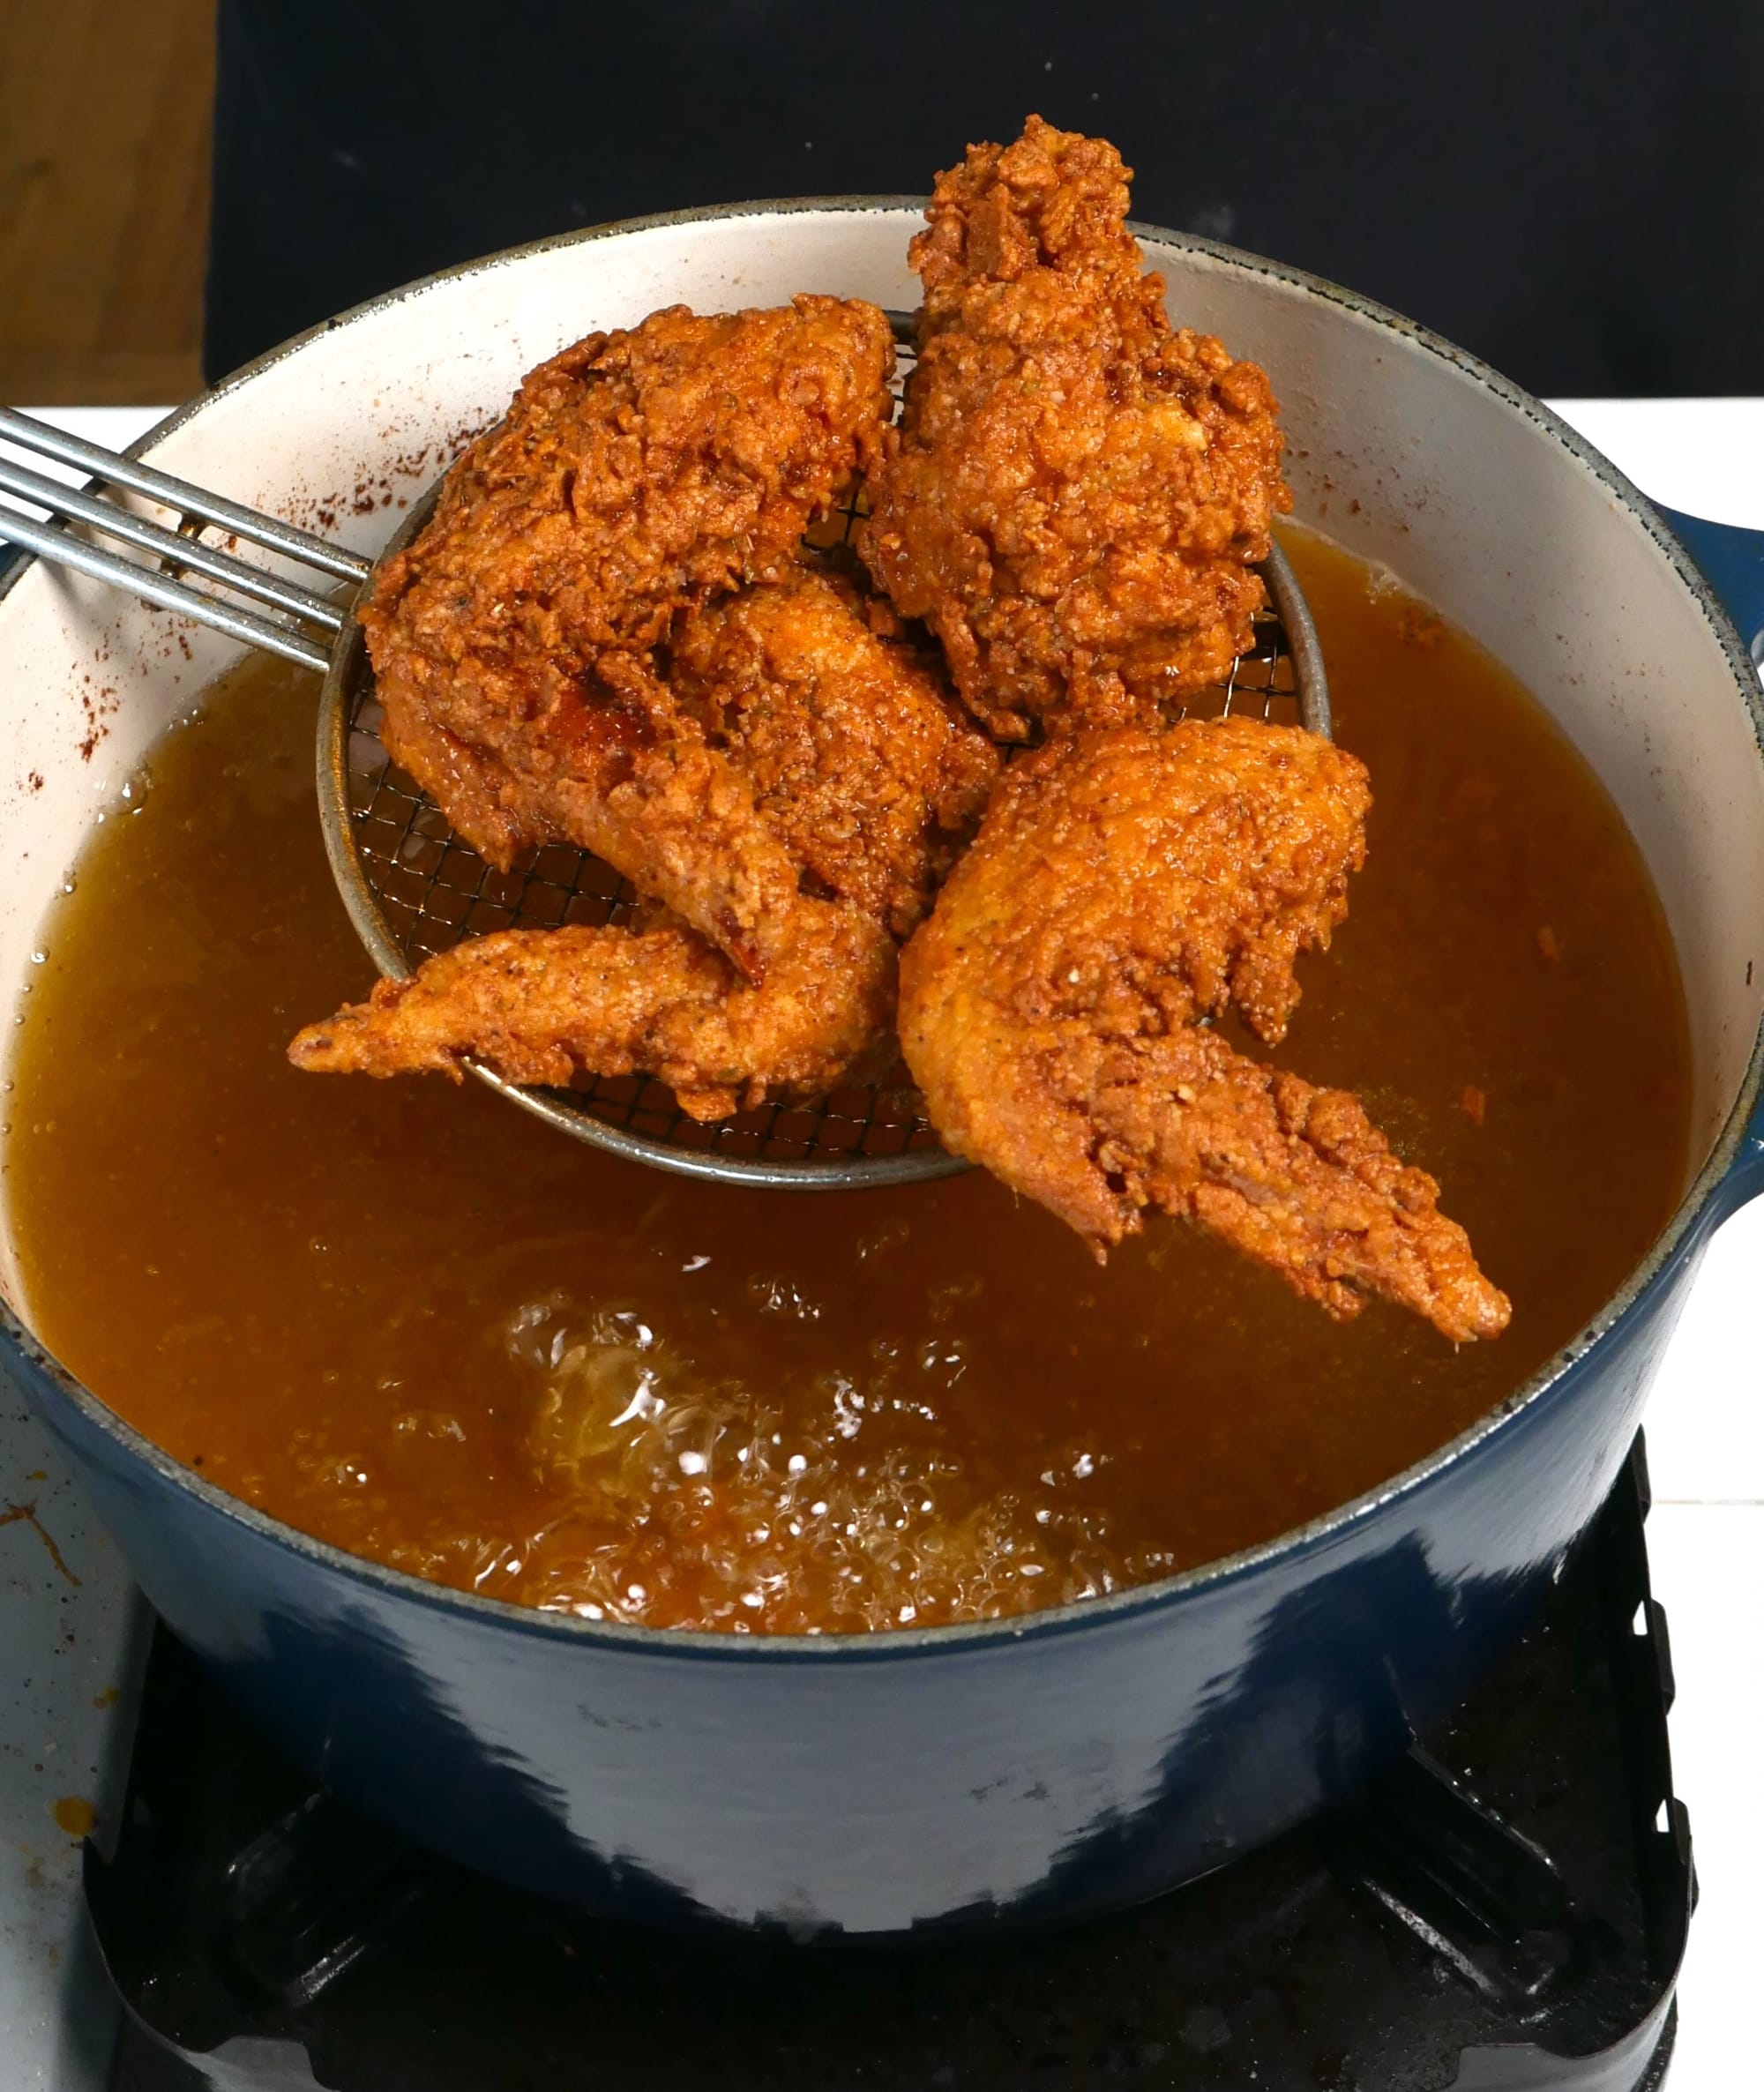
For the final piece of the puzzle, the question is always the same:
- How hot should my oil be?
- How long should I fry my chicken?
I’ve seen literally a hundred different ways to do it and tested probably way too many of them, but I’ve finally nailed the perfect temperature and timing for a juicy inside with an unbelievably crispy exterior.
- Oil Temperature: 335°F
- Fry Time: ~6 minutes*(see Frying Tips below)
Oil Temperature Tips:
When it comes to oil temperature, I’ve found that 335°F gives you the best results for a single fry. It allows the chicken to cook all the way through without burning the exterior. Temperatures like 375°F or 400°F can give you a crispy outside, but they can also leave the inside undercooked, which I think we can all agree we don’t want.
Another thing to remember is that the oil temperature will drop as soon as you add the chicken. That’s why it’s important not to overcrowd the pot and to adjust the heat as needed to bring the oil back to 335°F. The more chicken you add, the further the temperature will drop. For a larger pot, 4 - 5 pieces is a great starting point. For a smaller pot, I would stick to no more than 3.
Frying Tips:
This is where things get slightly tricky, but have no fear, Joe is here. The cooking time depends on multitude of things like the size of your chicken, the temperature of the oil, and even how thick your coating is.
For an average-sized wing, around 6 minutes is usually a good starting point. BUT, and this is a big but, I always recommend using a food thermometer to check the internal temperature. Once the chicken reaches 165°F, it is fully cooked.
If you’re new to frying chicken, buy a food thermometer. It will save you a headache, and you can also use it for steaks, baking, and so much more.
One signal I love to watch for is the color of the exterior. Once it starts getting that beautiful brown color we all love in fried chicken, it's a great sign that we're pretty much done cooking. But always check the internal temperature of your chicken to 100% make sure. If the oil is too hot, the outside might cook faster than the internal leaving an undercooked chicken.
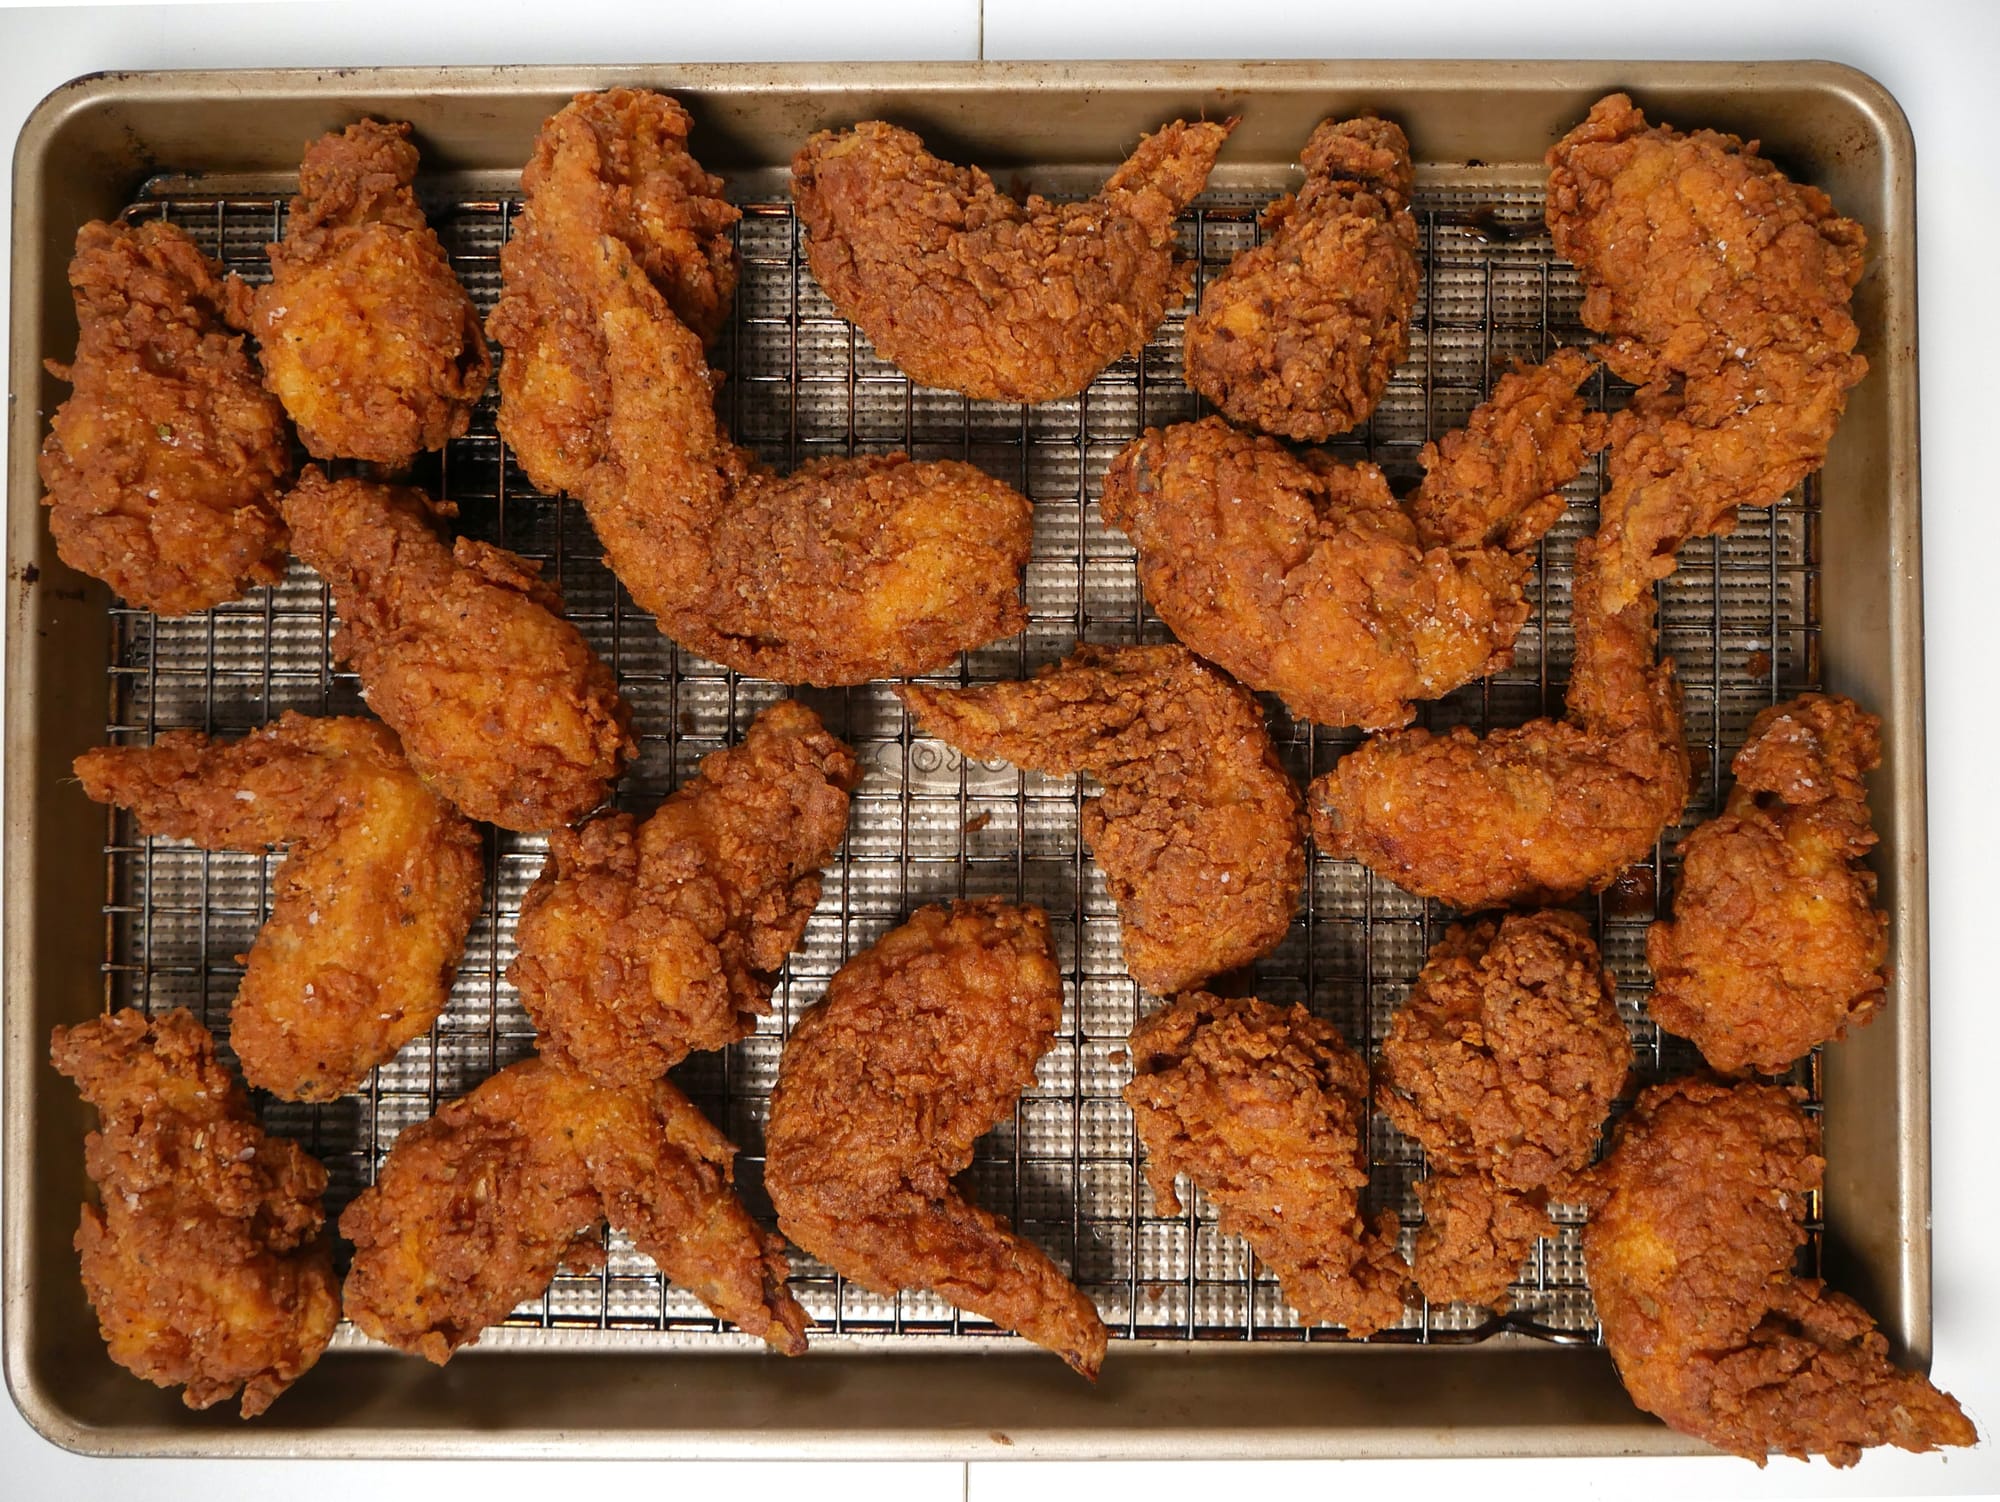
Final Tip: Once the chicken is fried, place it on a wire rack and lightly salt both sides immediately. Salting it right out of the fryer allows the salt to stick to the residual oil on the crust.
And I’m talking about a small pinch. You don’t need to overdo it. A little goes a long way, but that small amount brings out more flavor than you might think.
Allow the chicken to cool for about 3 to 4 minutes, then enjoy.
If you’re making a large batch, set your oven to its lowest temperature and place the finished chicken inside to keep it warm and crispy.
Recipe
Prep: 10 mins
Marinating: 1 - 12 hrs
Cook: 45 mins
Total Time: 14hrs