Chai Macaron
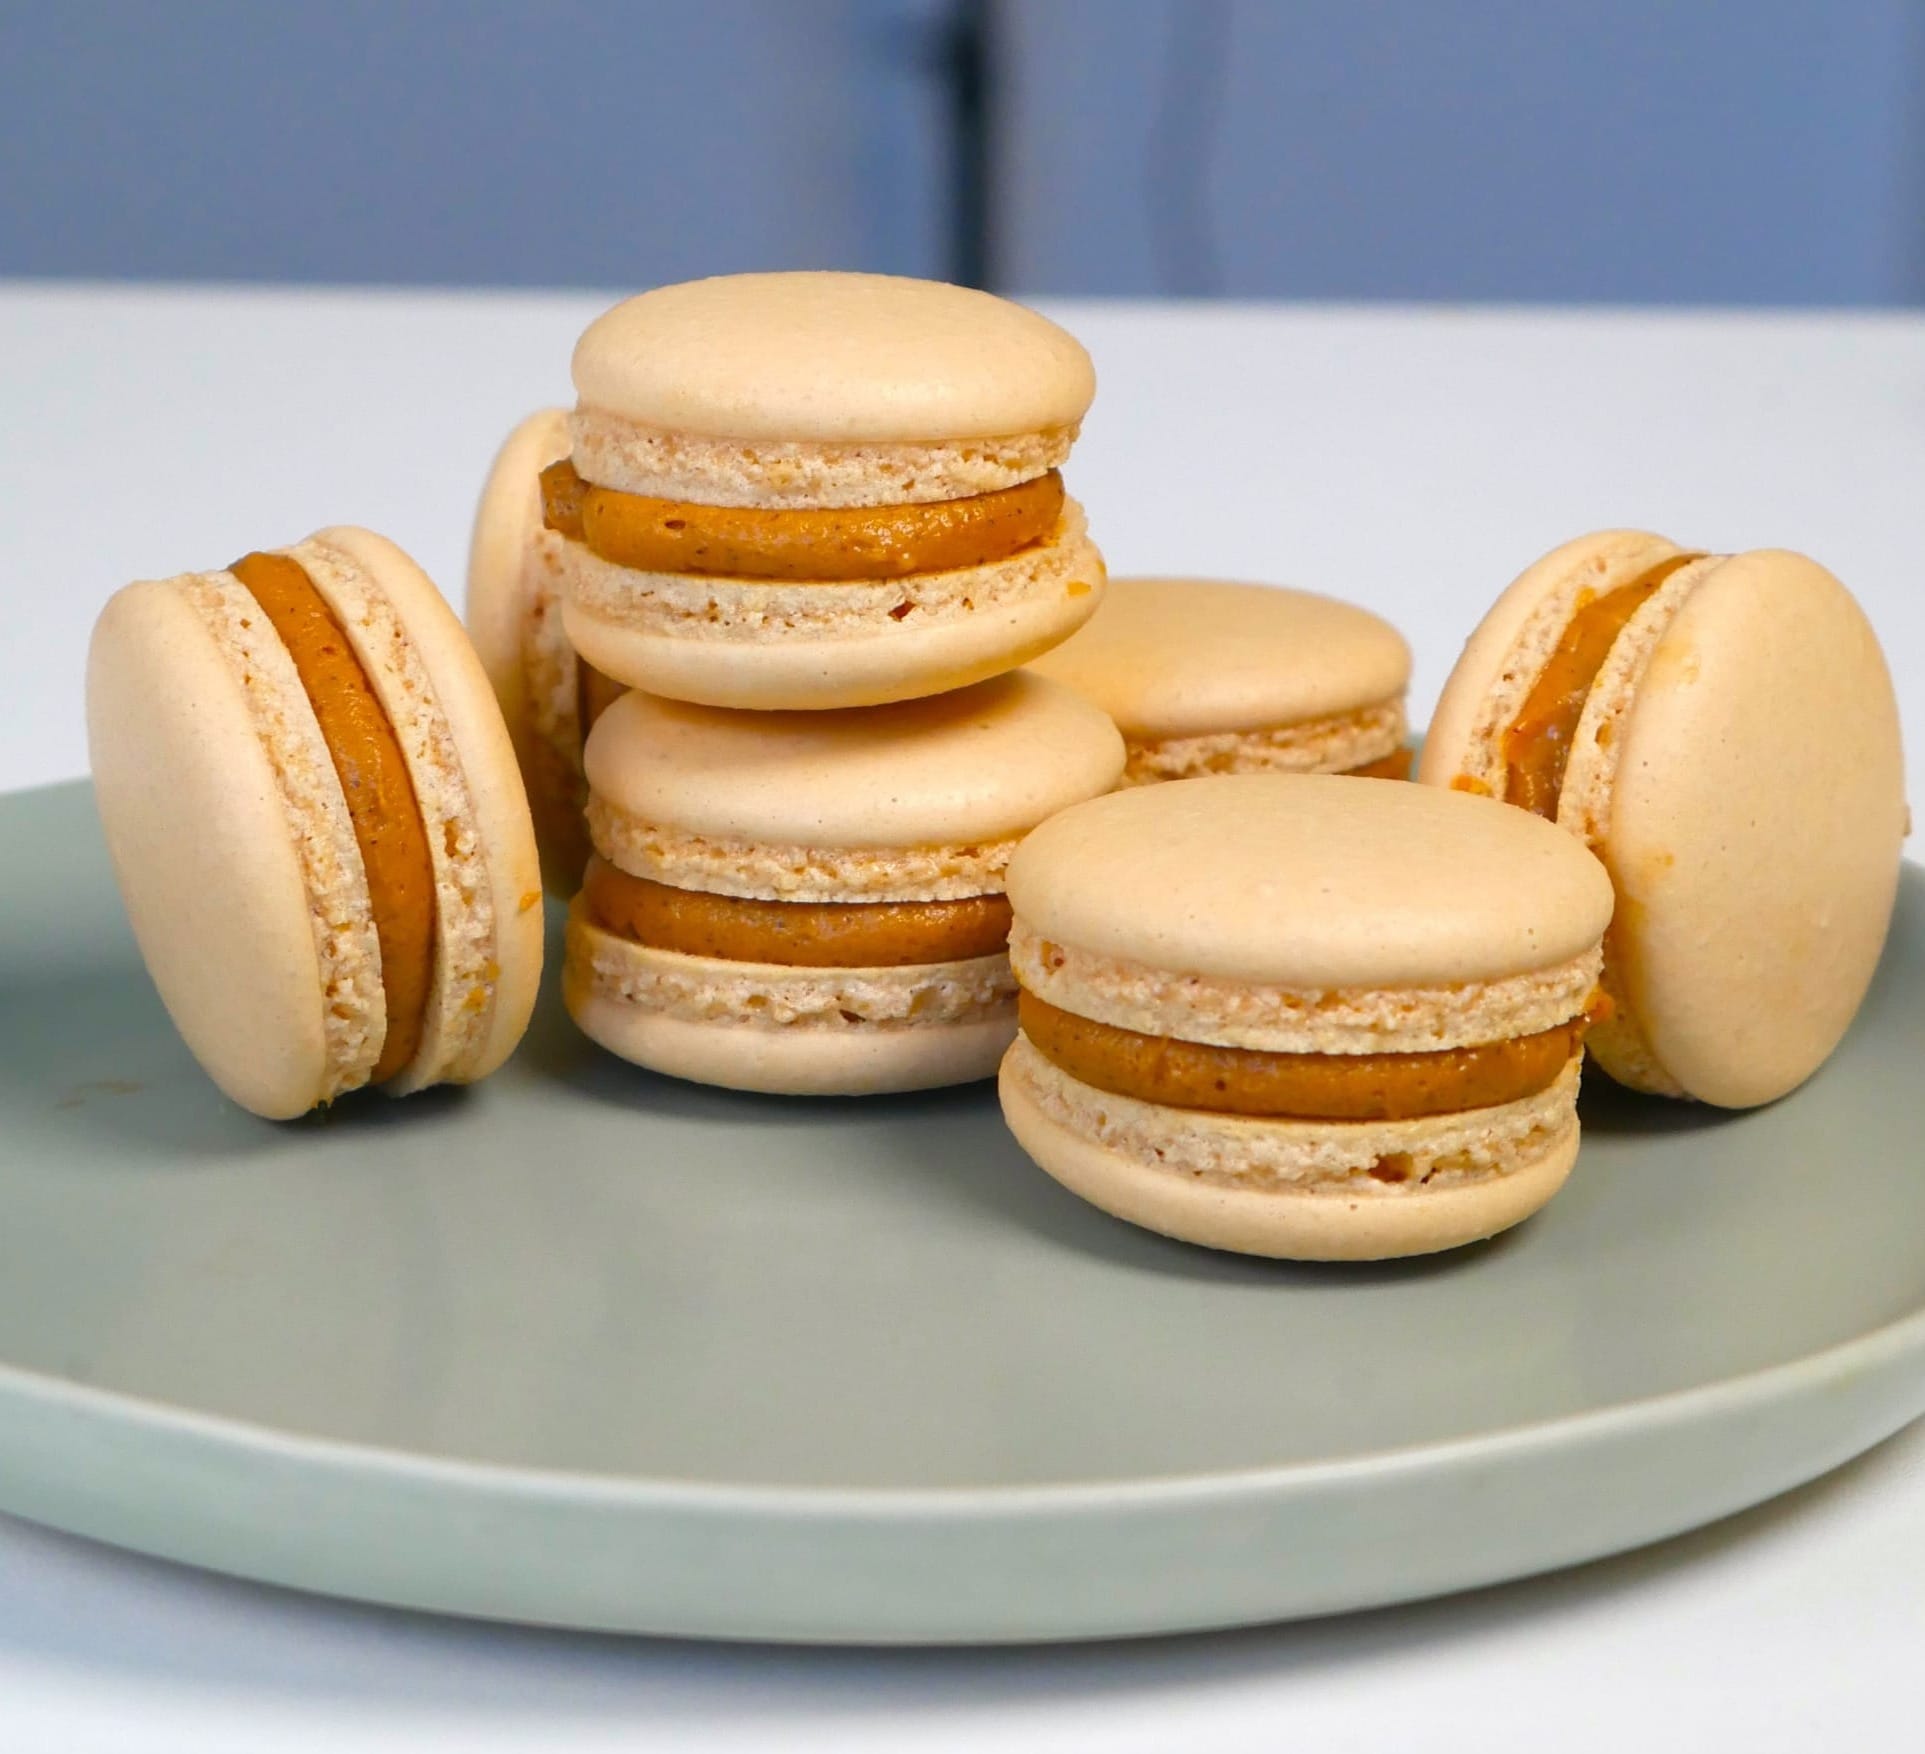
If you’ve ever had a really good macaron, you know how perfect that first bite can be. A delicate, slightly crisp shell with a soft, chewy center and a rich, creamy filling. Now add warm chai spices into the mix, and you get a macaron that’s cozy, fragrant, and honestly pretty hard to stop eating.
Making a macaron can be challenging at first, but once you get it, it's a new skill unlocked for life. You can modify the taste of the shells, the type of filling, the size of the macaron, almost anything once you've got your technique down pat.
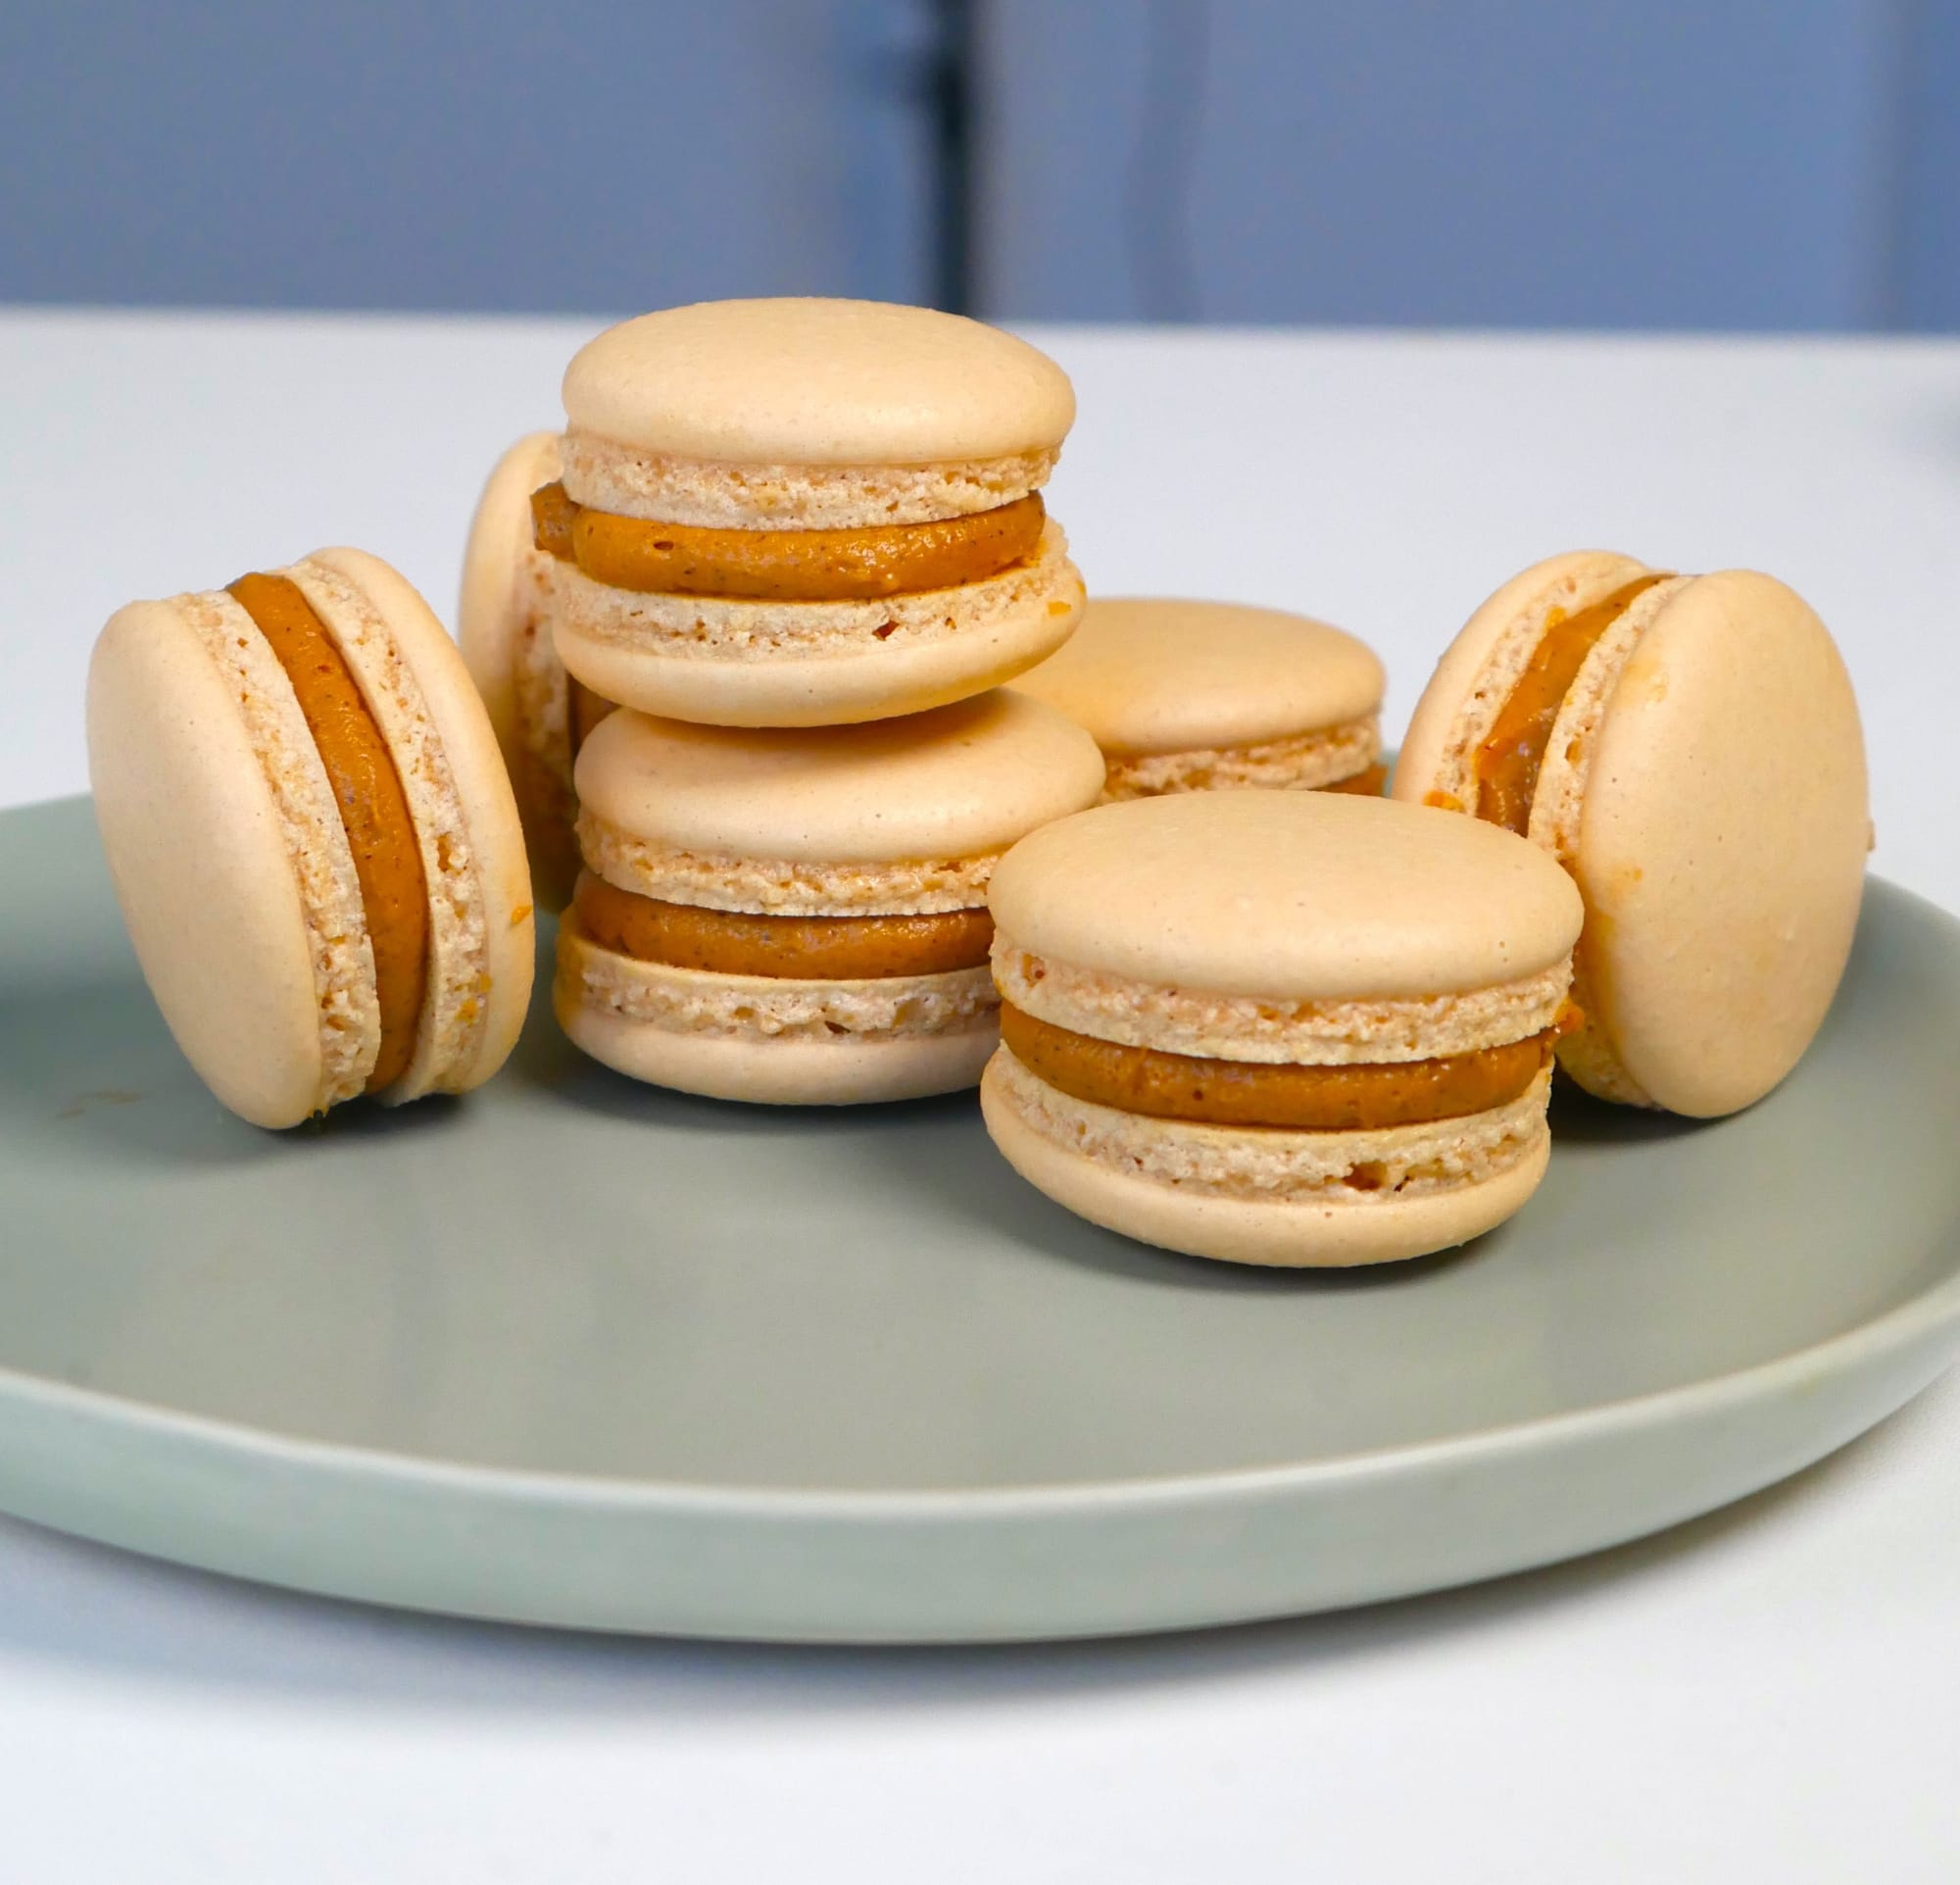
I spent 5 straight days perfecting this recipe. It was basically pastry school in my kitchen.
What I learned is that technique is key, but understanding where things can go wrong helps just as much. It does get to a point where you need to go through a bit of trial and error and understanding your environment, but this guide will help you through that process.
After probably 150 failed macarons, I feel like I have not only the recipe, but all the tricks and tips to get you to the finish line for that perfect macaron. And don't get it twisted, this is most definitely on the harder side of the scale when it comes to pastries. But is it worth it? 100%.
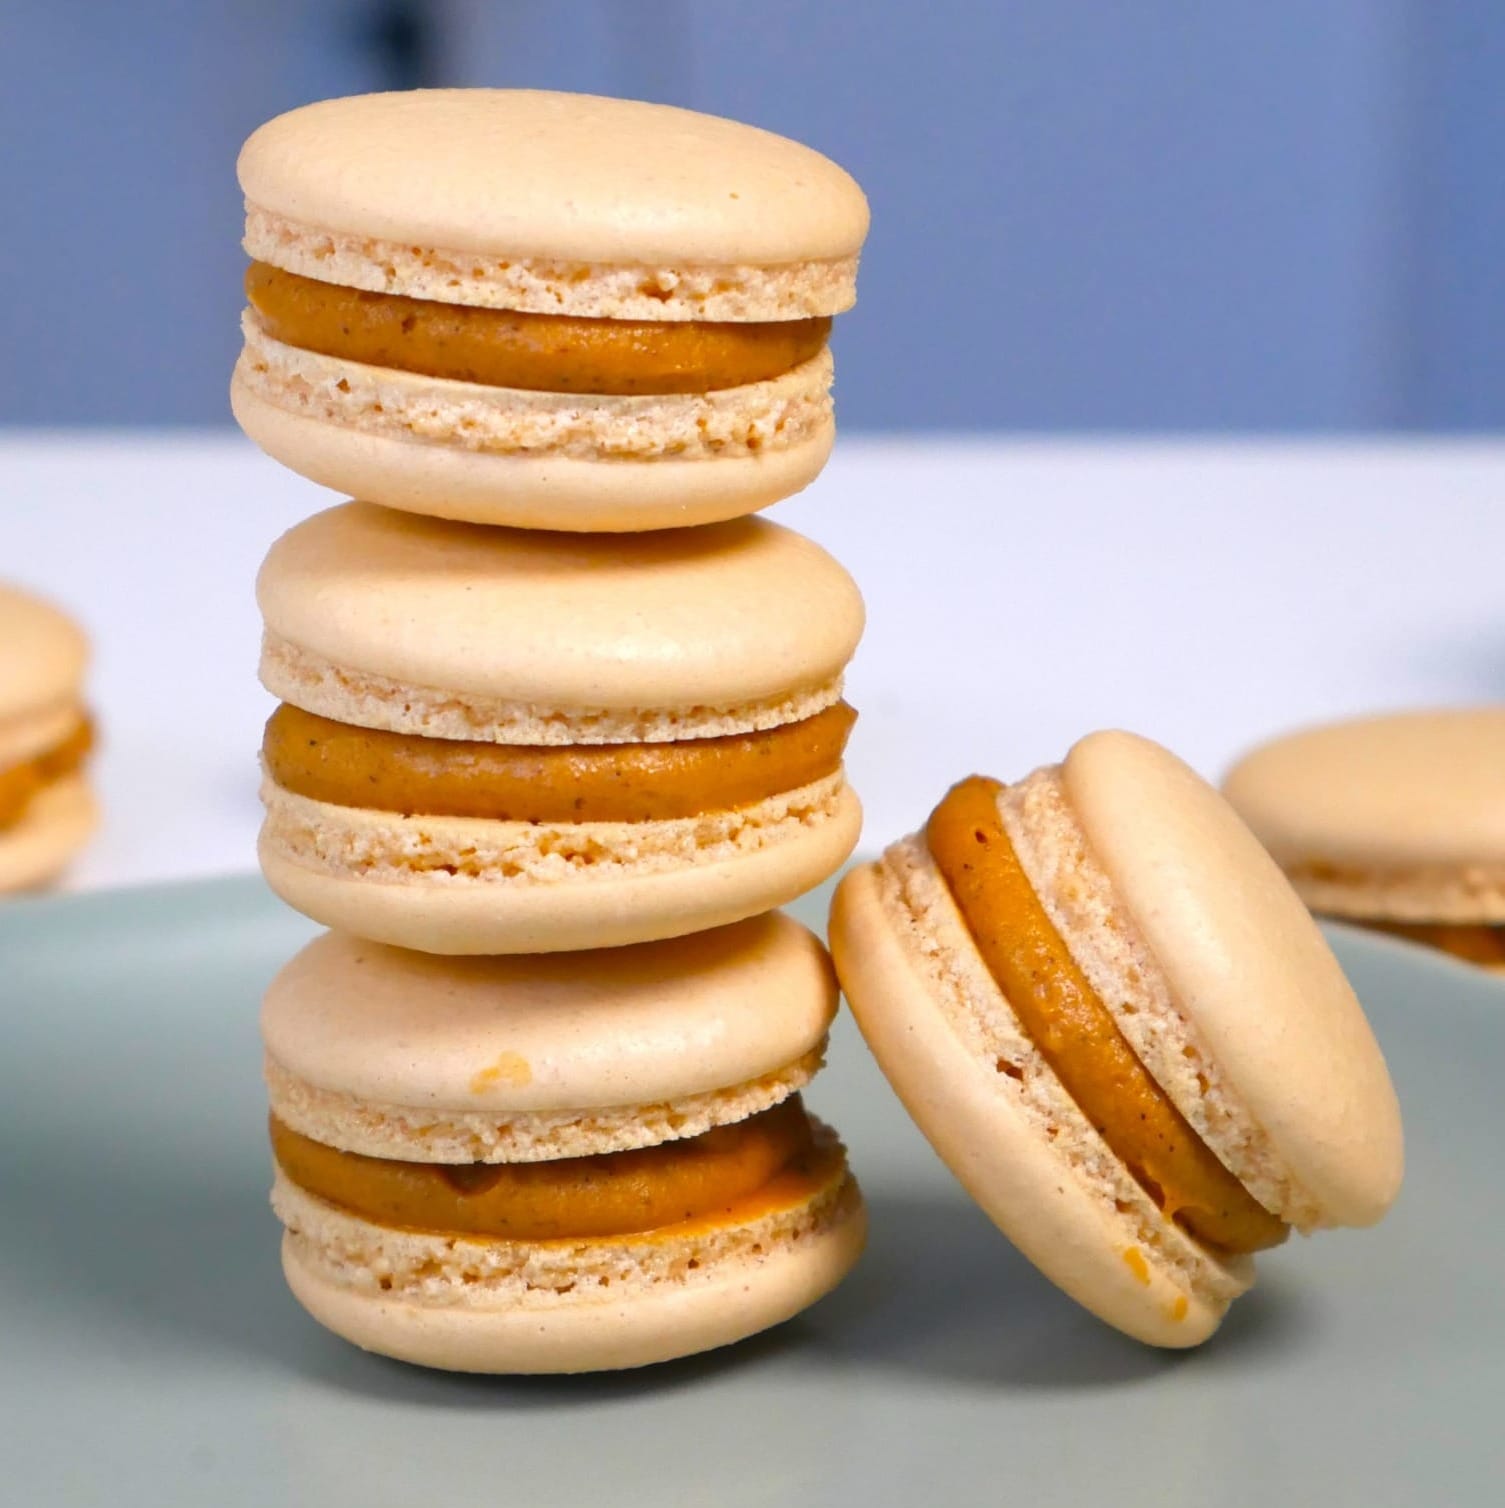
Step 1: Blitz and Sift
The first step of making macarons is getting your dry ingredients as fine as possible.
Blitz the powdered sugar and almond flour in a food processor for about 5 seconds, then sift the mixture into a bowl.
This helps remove any larger clumps and leaves you with a fine, even mixture to fold into your batter. The finer your dry ingredients are, the smoother the tops of your macaron shells will be.
This is a small step but makes a huge difference. I would not skip this. You could leave out the blitzing if you don't have a food processor, but don't skip the sifting.
Step 2: The Meringue
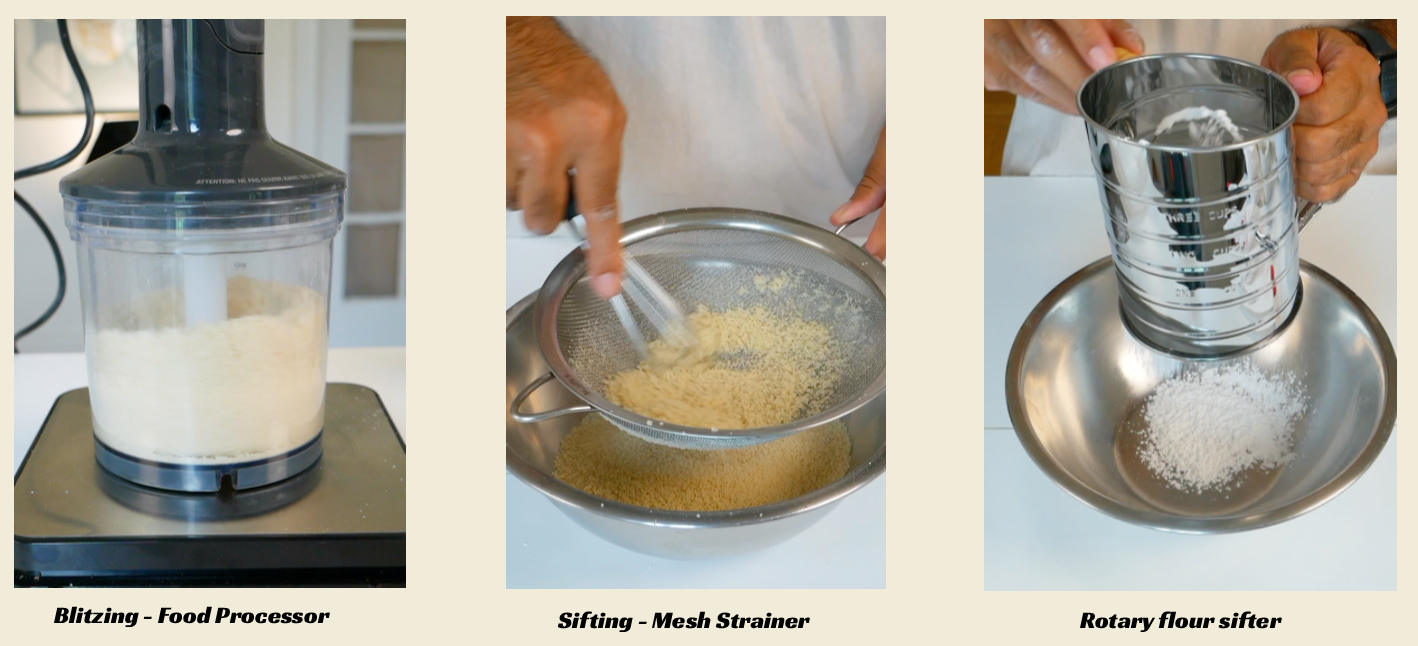
A meringue, simply put, is whipped egg whites and sugar, and it’s the base of our macarons. If you’ve never made a meringue before, trust me, it’s not hard, but it can be a little time-consuming. A stand mixer is great here, or even a hand mixer. You can do it manually with a whisk, but it might take forever. I would recommend at least using a hand mixer.
First, bring the egg whites to room temperature. This helps them whip up more easily and gives you a better meringue. From there, mix the egg whites and cream of tartar on medium speed until foamy. Once foamy, slowly incorporate the sugar a third at a time, repeating until all of the sugar has been added. Then increase to high speed and continue whisking until soft peaks form.
A soft peak is when the meringue holds a peak but still has a slight bend at the tip. This is a great time to add your food coloring, if using, and salt. From there, continue whisking until stiff peaks form.
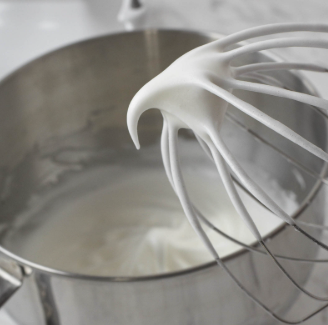
You really want strong stiff peaks here. The mixture should be smooth and glossy with no bend at the tip. If there’s even a slightly bend, keep whisking. I like my meringue to have no bend at all, with a peak that stands straight up and holds its shape.
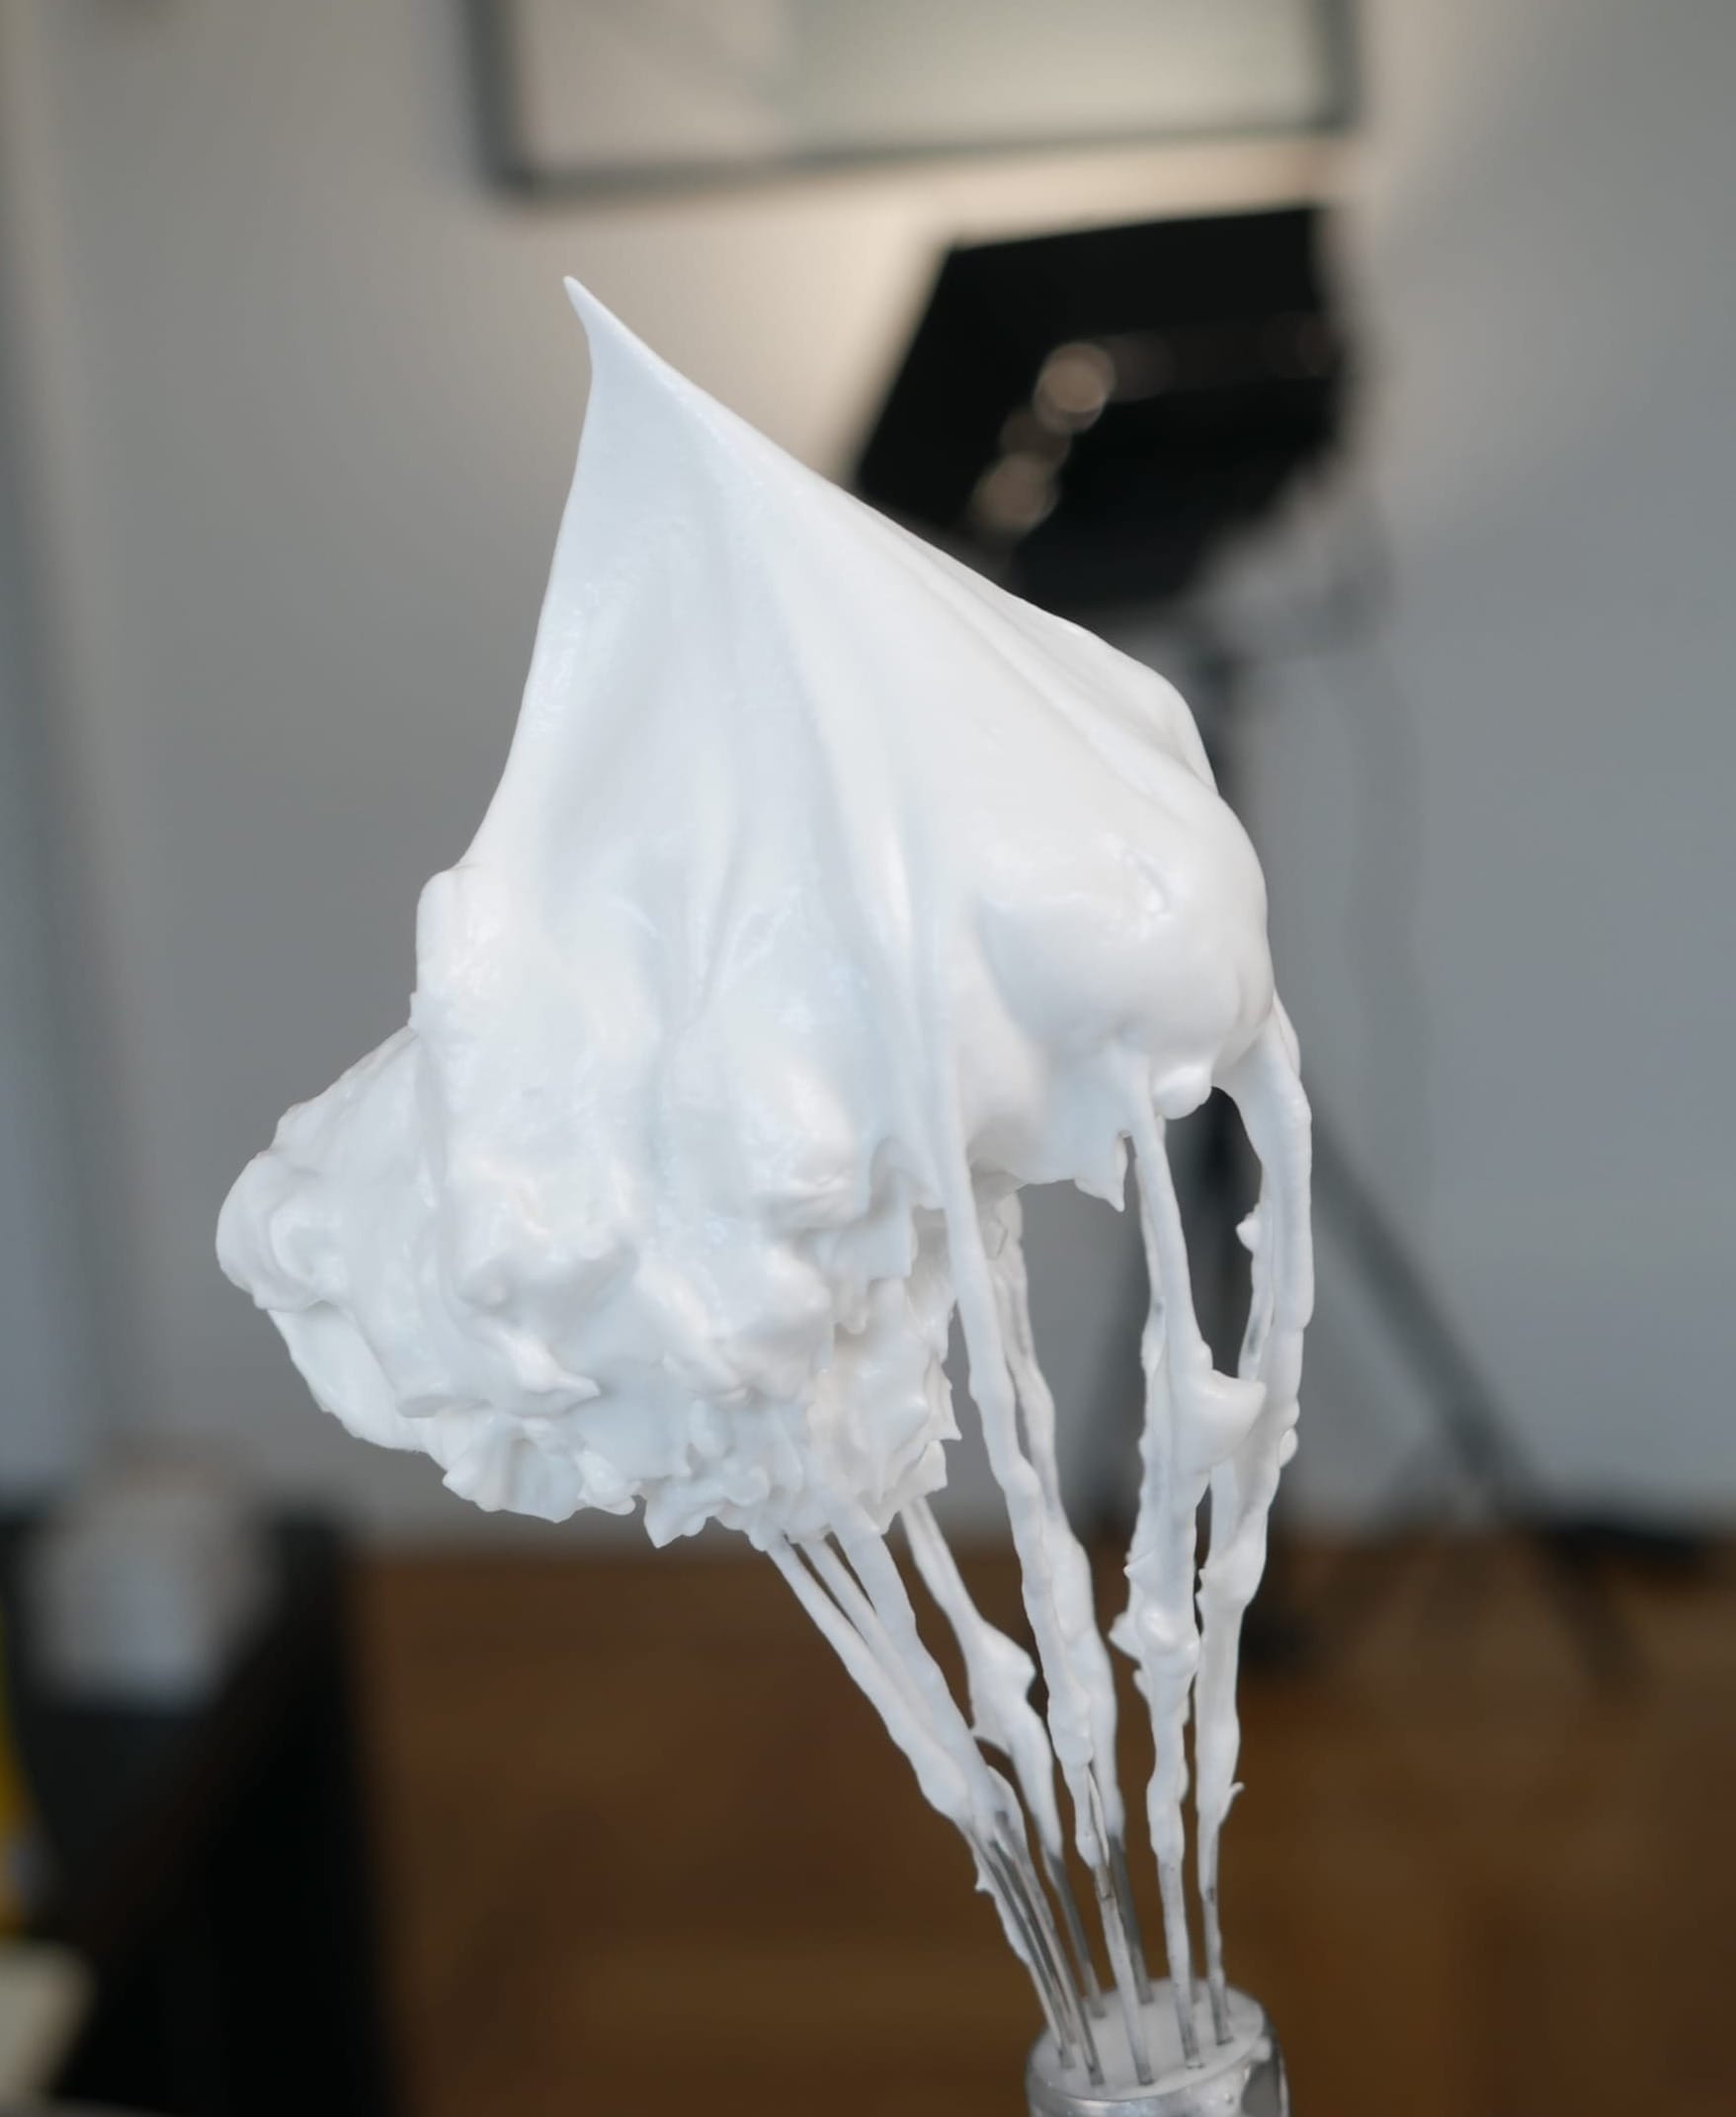
Be careful not to overmix here. You’ll know you’ve gone too far if the meringue starts looking lumpy or grainy and no longer forms clean, defined peaks when you lift the whisk out. There is no going back from here, so be careful!
Step 3: Mixing aka Macaronage
When it comes to mixing the dry ingredients into the meringue, it calls for a very specific method, aka macaronage!
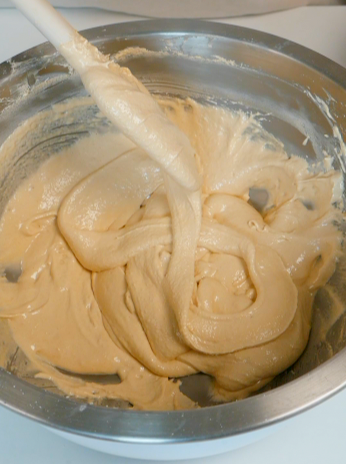
Without making things too complicated, it’s a technique where you fold the batter from underneath over itself, then press it against the sides of the bowl to release some of the air. You continue doing this until you have a batter that is still slightly thick but flows smoothly and consistently.
Some key tips to know you have mixed enough:
- The batter can flow into ribbons without breaking
- You can draw a figure 8 without the batter breaking
- The flow of the batter almost looks like lava
The two biggest issues here are undermixing and overmixing. I know, you have to get right smack in the middle, but with a little practice, you’ll get it. Just look out for the 3 key tips above and you'll find that sweet spot when mixing.
Step 4: Piping
Once you have successfully mixed and macaronaged your batter, you’re ready for piping.
Use a round piping tip, either a 1A or 2A. I recommend the 2A (~1/2 inch) because it’s smaller and gives you a little more control over the flow and amount of batter coming out.
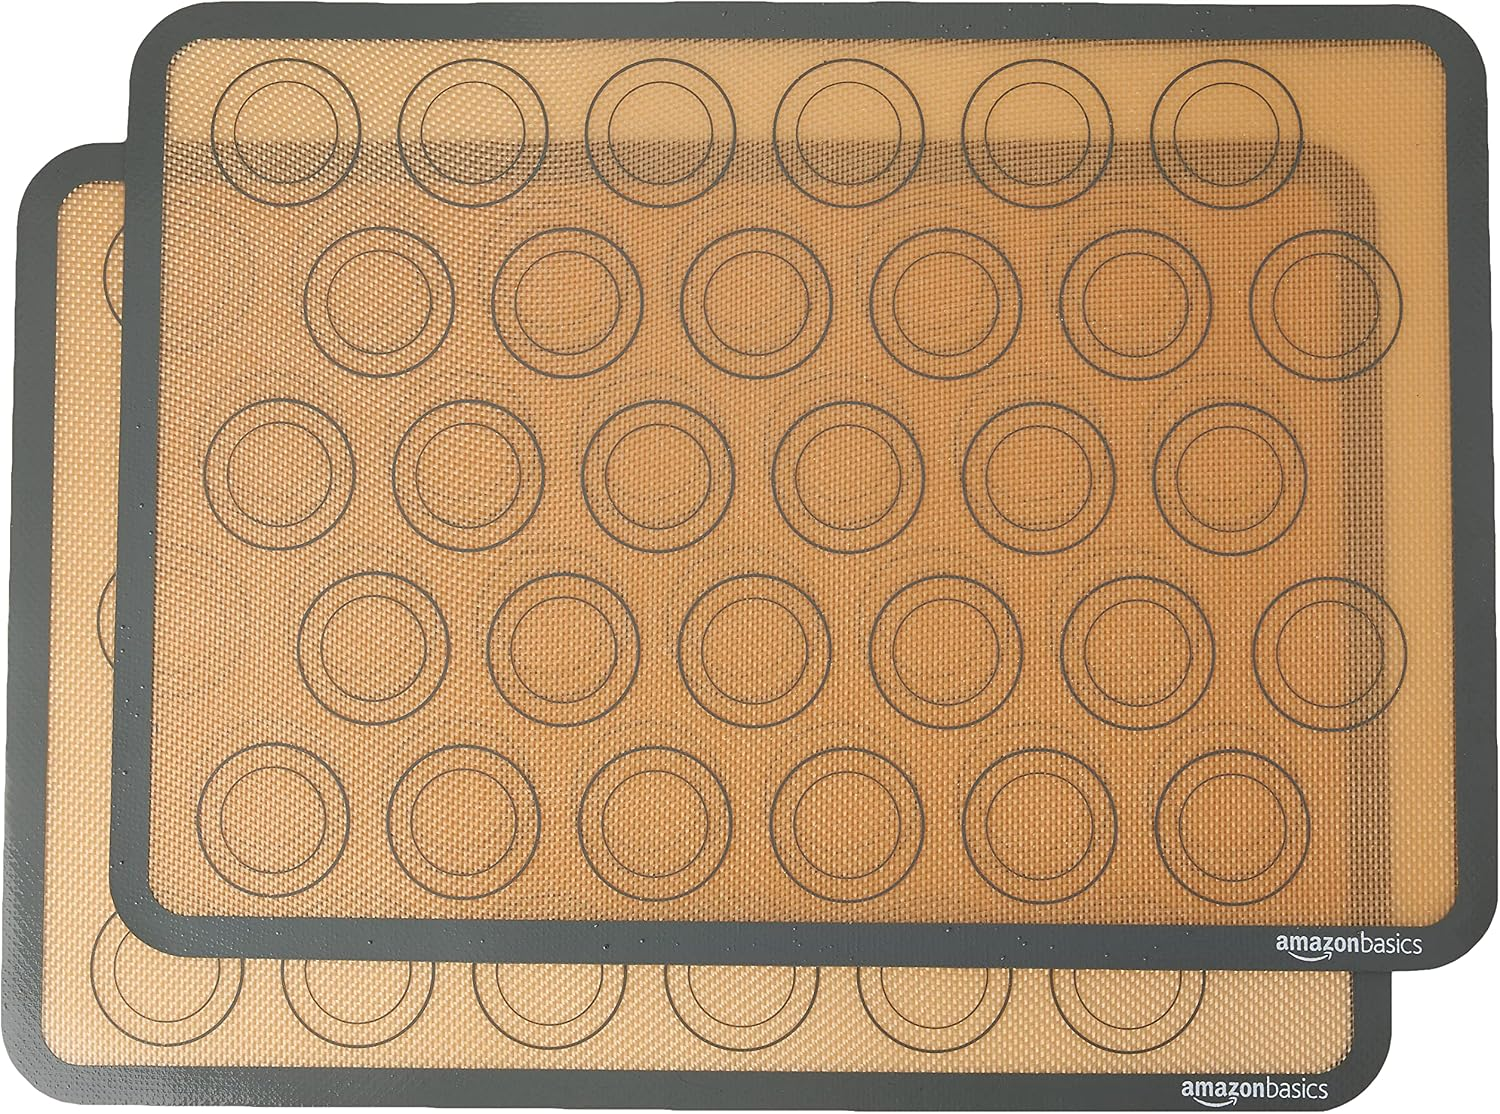
Before you start piping, it helps to have a guide for getting your shells as even as possible. You can use parchment paper or a silicone mat that already has the macaron circles printed on it. You can also print a macaron template online and place it underneath your parchment or silicone mat as a guide. My personal favorite is the silicone guides.
When it comes to piping your batter onto the baking tray, make sure to pipe at a 90-degree angle, completely straight down perpendicular to the tray. Avoid tilting the piping bag in any direction. Keeping the bag straight helps the macarons rise evenly in the oven and reduces the chance of them leaning or blowing out to one side.
When applying pressure, use your dominant hand at the top of the piping bag to control the flow of batter. Use your non-dominant hand near the tip to guide the nozzle and keep it steady as you pipe.
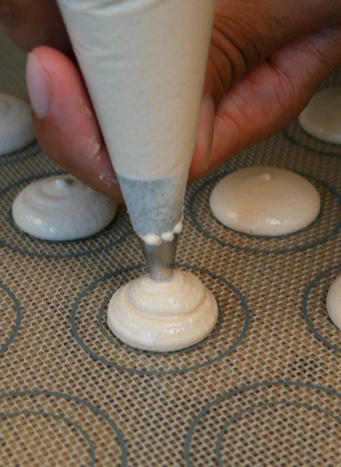
To finish piping each macaron, stop applying pressure first, then lift the nozzle slightly and make a quick swoosh or check-mark motion to cut off the flow of batter cleanly.
Step 5: Removing Air Bubbles & Resting
Removing Air Bubbles
After piping, you want to remove any air bubbles that may be trapped in the batter.
You can do this by firmly tapping the tray against your workstation a few times, or by using your knuckles to tap underneath the tray to help bring the bubbles to the surface.
Once you see any bubbles pop up, take a toothpick and gently swirl through them, using the nearby batter to fill in any small holes left behind.
Resting
Once all the air bubbles have been removed, it’s finally time to rest your macarons.
Resting time really depends on your environment and how humid it is, but what you’re looking for is for the shells to develop a skin on top. Once that skin is thick enough that no batter sticks to your finger when you lightly touch it and the top feels firm, you’re ready to bake.
Mine usually takes around 60 minutes in a room with the A/C on, but depending on your environment, it can definitely be shorter or even longer.
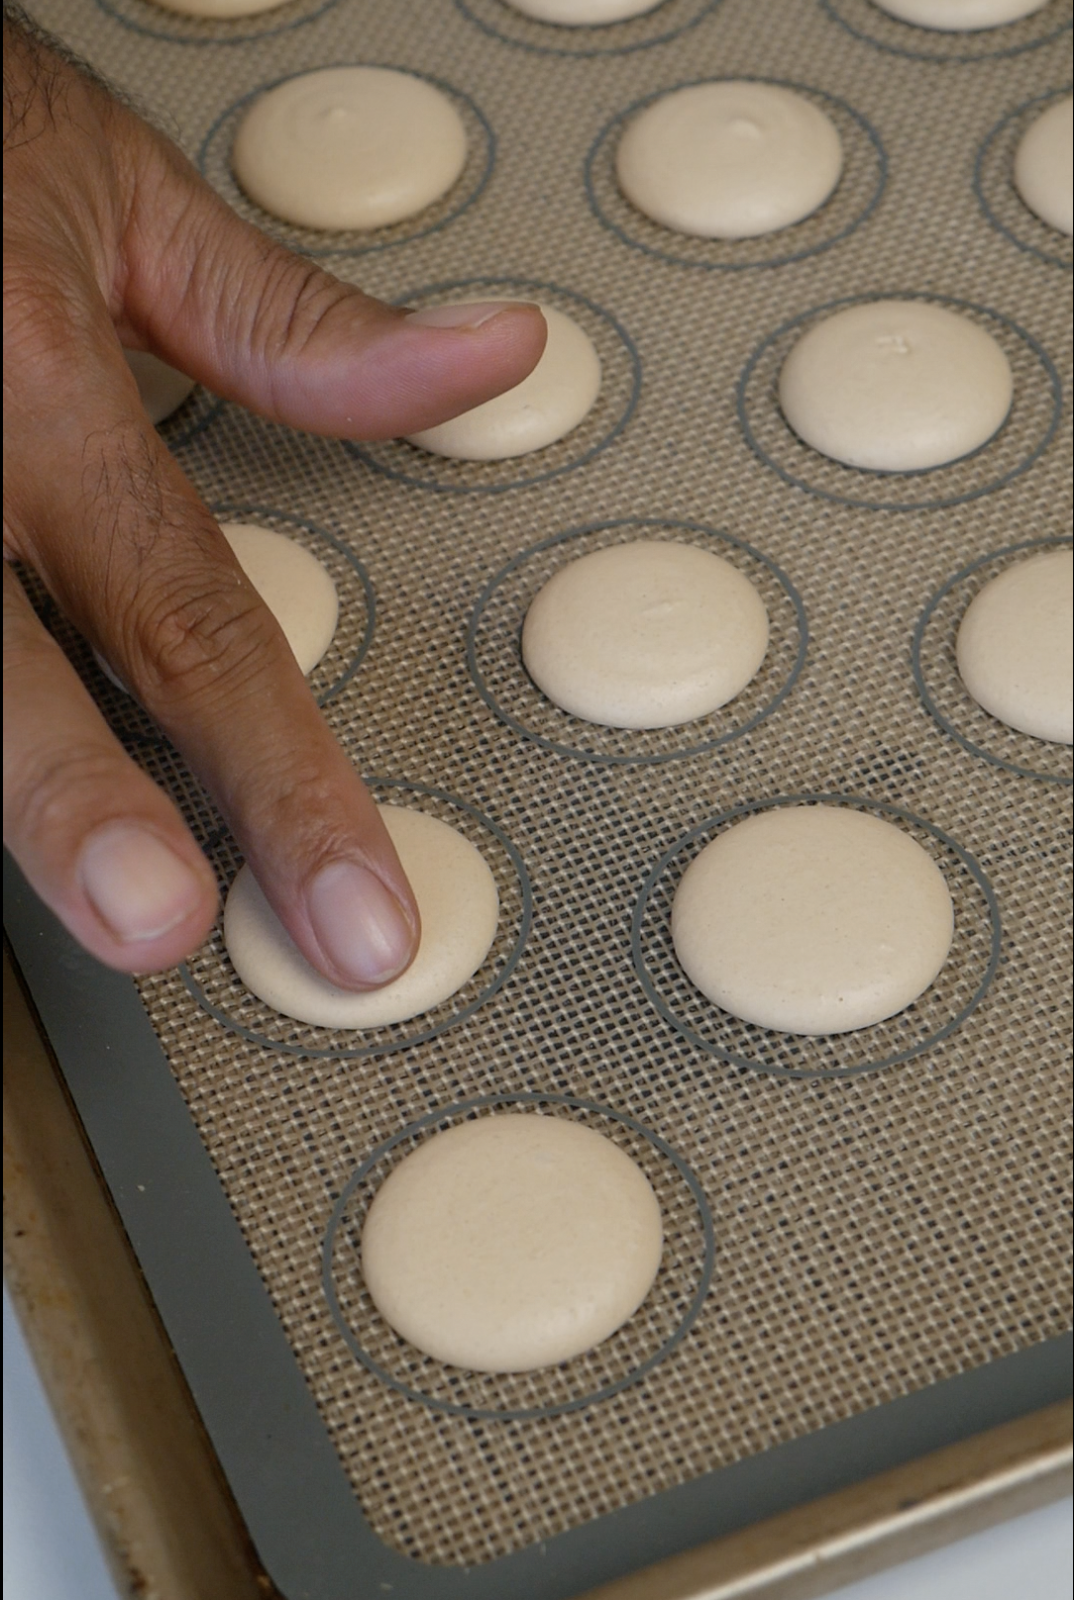
Step 6: The Bake
Bake the macarons at 300°F on the center rack, one tray at a time. I know it can be frustrating having to bake them this way, but adding multiple trays can affect airflow and heat distribution inside the oven. With macarons, it’s better to be safe than sorry. You've worked this hard, you don't want to ruin it with two trays in the oven.
An oven thermometer also really helps here when it comes to dialing in the temperature. I’ve found that home ovens can have a decent amount of variance, so using a thermometer gives you a much more accurate reading of what temperature your oven is actually at.
Mine usually finish in about 15 minutes of baking, but the wiggle test is your best friend. Gently tap the top of the shell and try to move it slightly from side to side. If it wiggles easily or feels loose on the feet, it needs a little more time in the oven. If it feels pretty solid or only moves the slightest bit, you are done baking! Take it out and let it cool completely.
Step 7: The Filling
Most macarons are filled with buttercream, but we're going down the ganache route for this recipe. Ganache works really well when you want to infuse flavor through a liquid, which makes it the perfect method to bring that iconic chai flavor into the filling.
For this whipped chai ganache, we'll make our heavy cream based chai first, mix it in with some white chocolate, and then finally whip it once cooled and set in the fridge.
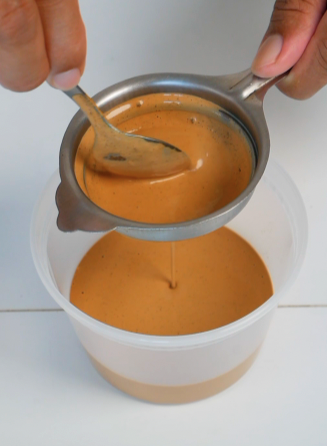
We’ll also be using a 1:1 ratio of liquid to white chocolate. So you may be wondering why we’re starting with 15 oz of heavy cream when the recipe calls for 6 oz of chocolate. As the cream gently heats and infuses with the tea and spices, some of it gets absorbed and some is lost (due to evaporation) during the process. Because of that, we need to overcompensate a bit with the heavy cream so that once everything is strained, we’re left with at least 6 oz of chai cream for the ganache.
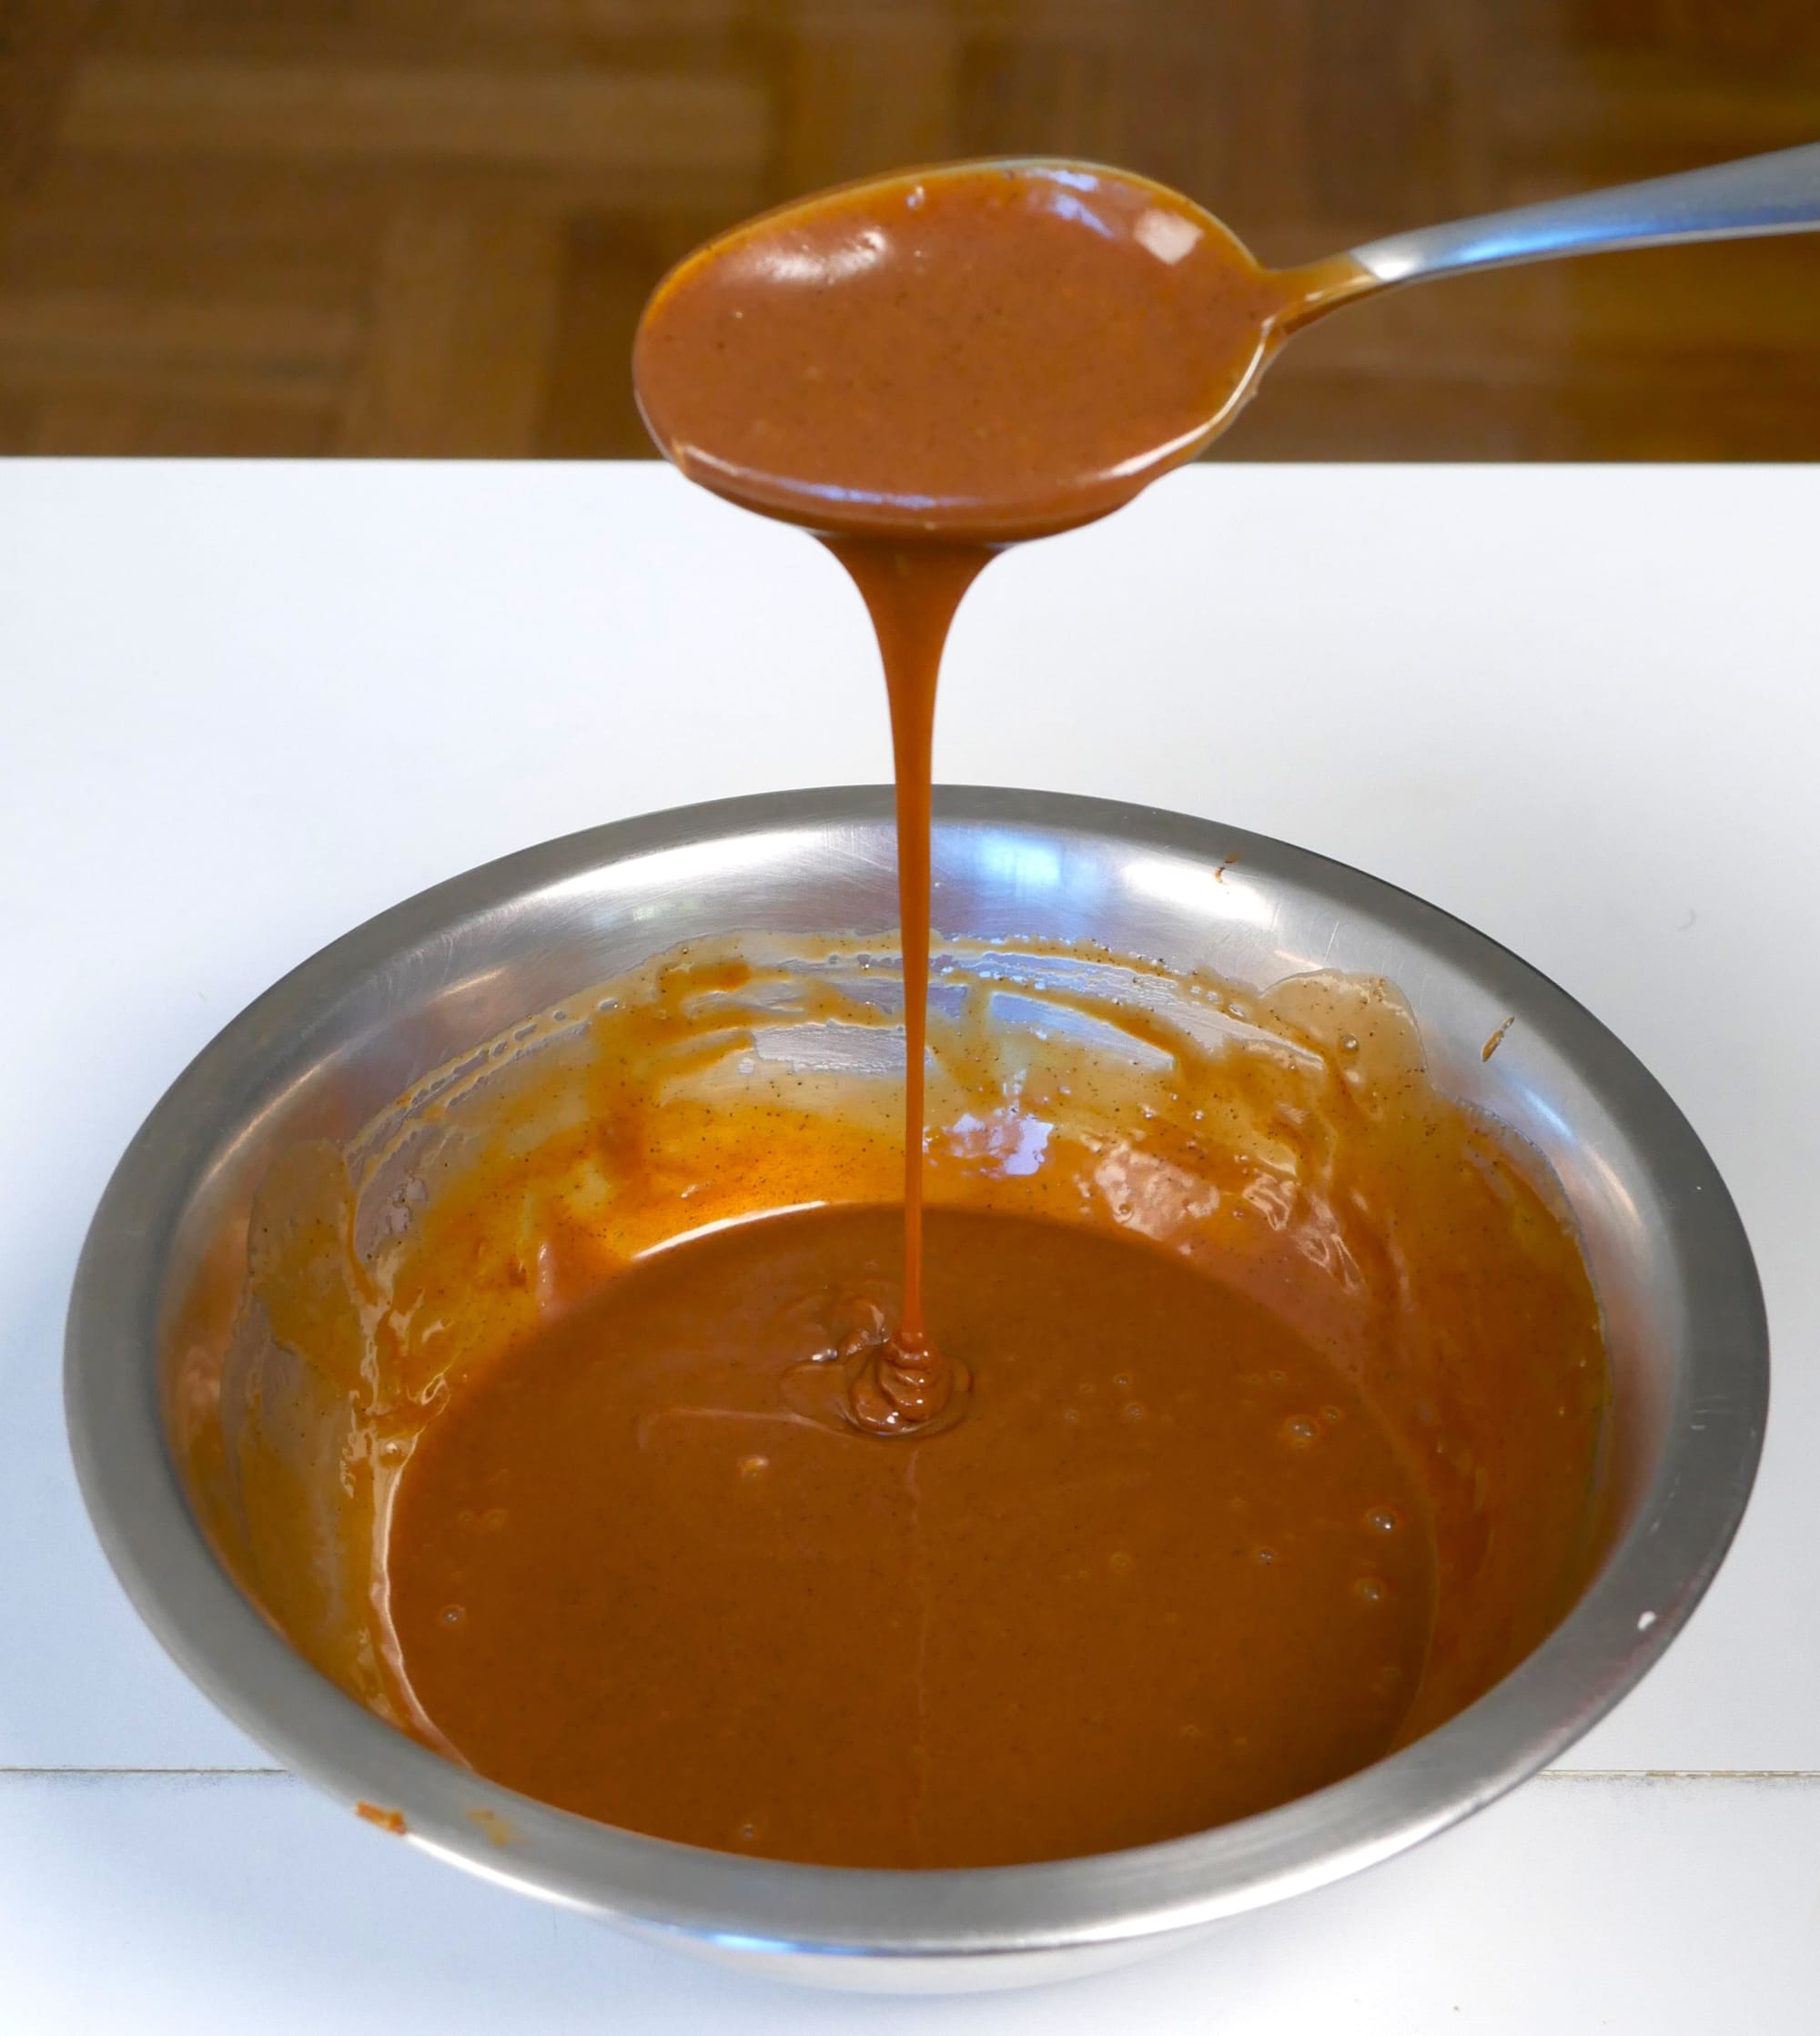
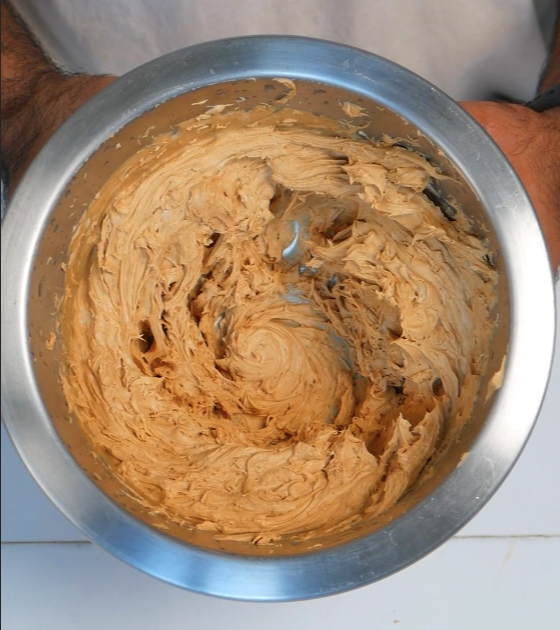
Once gently heated and strained, measure out 6 oz of chai cream and pour it over 6 oz of white chocolate. Let it sit for a few minutes to allow the chocolate to melt, then mix until completely smooth. You can use an immersion blender to speed things up. Place it in the fridge to firm up for at least 2 hours, or overnight for best results. Once fully chilled, whip for about 2 minutes, or until the ganache becomes lighter in color and airy in texture. Transfer it to a piping bag and pipe in between your macaron shells.
Step 8: Maturation
Once you’re done making your macarons, I know it’s tempting to eat them right away, but don’t! I mean, you can eat one if you really want to...lol. But the shells will still be pretty firm and won’t have that soft, chewy interior you’re looking for. They actually need some time in the fridge to absorb moisture from the filling and soften up.
I recommend letting them mature in the fridge in an airtight contatiner for at least 24 hours before eating. Then, take them out about 15–30 minutes before serving so they can come closer to room temperature and have the best texture.
Alright, you got everything to make the perfect macaron. Enjoy, don't stress, and happy baking, my soon to be pastry chef!
Recipe
Prep: 45 mins
Cook: 15 mins
Rest: 3-24 hrs
Total: 4-25 hrs
Yields: 25 finished macarons